


Sanding seems straightforward. But it turns out, most people do it wrong.
They’ll whip out their random orbital sander and go to town on a recently assembled project.
But when they add finish, they find divots, swirly scratches, and supposedly flat surfaces that are anything but flat.
Here’s the thing. Sanding your woodworking projects can be straightforward.
You just need to know a couple things to get it right.
Today, I’m giving you 15 Sanding Tips to help you sand boards accurately and avoid disaster.
I know. Sanding sucks.
But with the tips below, you’ll be able to get through it a whole lot faster — and get great results right off the bat.
The Katz-Moses Tools store now carries sandpaper — including the winner from our sandpaper test. Click below to check out our selection!
TABLE OF CONTENTS
- Choose the Right Sander for the Job
- Find the Right Time to Sand
- Use Good Sandpaper
- Attach Your Sander to a Shop Vacuum
- Progress through Sandpaper Grits
- Clean the Surface Between Grits
- Use the Pencil Trick
- Hold Work with a Router Pad
- Avoid Dad Sanding
- Sand Narrow Pieces Together
- Protect with Blue Tape
- Beware of Plywood Veneers
- Go Higher on End Grain for Even Color
- Finish by Hand
- Know When Sanding isn’t the Best Option
1. CHOOSE THE RIGHT SANDER FOR THE JOB
Different sanders are best suited for different situations. Here’s some of the most common and when to use them.
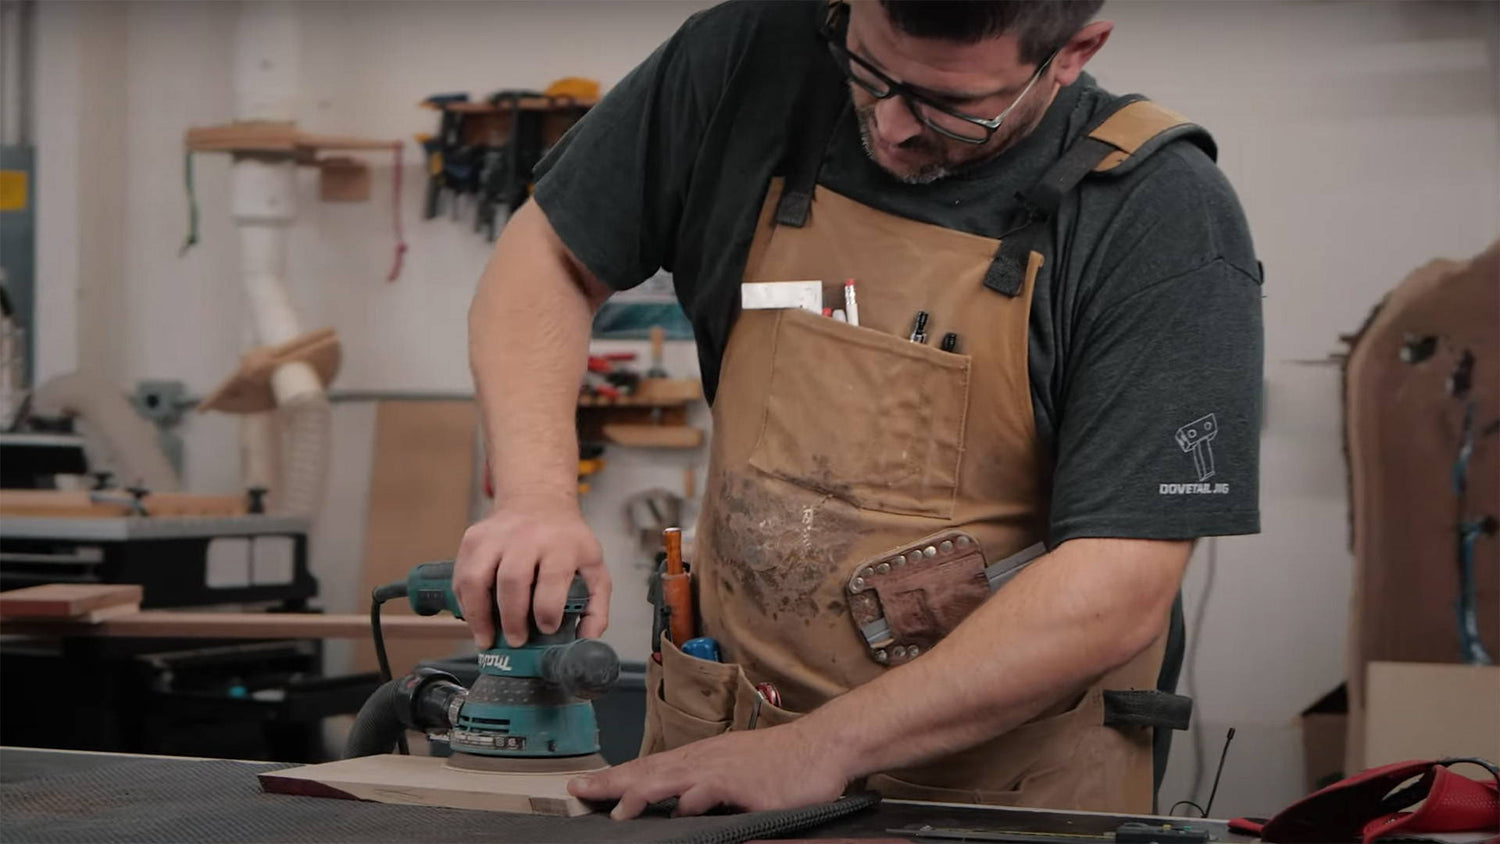
RANDOM ORBITAL SANDER
This is far and away my most used power sander.
The pads on random orbital sanders rotate in a circle but also vibrate with an erratic orbit.
This helps randomize the scratch marks so you don’t get super deep scratches in just one spot.
This is the sander you should use for most furniture projects while sanding faces and wide edges.
BELT SANDER
Where random orbital sanders are the classically trained guitarist playing Mozart’s Fifth, belt sanders are the teenage garage band dragging down property values.
Belt sanders absolutely plow through material. Because of this, I really only use them for operations like stripping paint and finishes.
If you are using one for finer work, make sure to keep moving. Since the sandpaper is always moving the same direction, it’s easy to create deep scratch marks in your workpiece.
One fun thing you can do with them is flip them around in your vise and use it as a stationary sander for rounding out edges.
PAD SANDERS
Pad sanders have square pads that vibrate but don’t rotate like a random orbital sander.
They’re a little less aggressive than random orbitals, and the square pad makes it easier to get into inside corners (though I’d recommend hand sanding these areas most of the time).
STATIONARY BELT AND SPINDLE SANDERS
Stationary sanders shine for sanding edges to a precise angle. Usually it’s 90° to the board face, but it depends on the angle of the bed.
They’re most used for shaping and sanding curved edges.
Stationary belt sanders are great for convex (outside) curves. I use them a ton for shaping templates or sanding a board closer to a template if I didn’t get close enough on the band saw.
Spindle sanders specialize in sanding concave (inside) curves. The smaller the diameter of the spindle, the tighter the corners you can get into.
Stationary sanders with an oscillating motion are best since their up and down motion helps randomize the scratch patterns.
DRUM SANDERS
Drum sanders are definitely a luxury — but they’re hard to go without once you’ve used one.
They specialize in sanding panels and glue ups perfectly flat.
I don’t think I’d make another end grain cutting board without my drum sander. Because if you think sanding sucks, try sanding a 12”x16” area of end grain flat.
SANDING PADS
Sanding pads create a flat surface for sandpaper to rest on when you sand by hand.
It’s best to use pads with slightly padded bottoms so you don’t gouge your workpiece if you apply uneven pressure.
We carry ergonomic sanding pads that work with hook and loop paper for super quick change out and a solid hold.
2. FIND THE RIGHT TIME TO SAND
The best time to sand is when the sun is 32.5° shy of the zenith and the dew point is 64° F.
I’m just kidding. I mean finding the right moment in your project.
We usually think of sanding as the stage between assembly and finish.
But sometimes you’re better off sanding before assembly — especially if your finished project is going to have a lot of hard to reach corners.
Take the time to think about how you’ll sand before putting everything together.
And if you do sand before assembly, be careful to not loosen up the joinery you worked so hard to make tight.
3. USE GOOD SANDPAPER
Don’t think the sandpaper you use makes a big difference? Think again.
I used robots to test 19 brands of sandpaper against each other… and the results surprised even me.
Choosing a high-value sandpaper saves you a ton of time and money. Seriously. The cost difference can be as much as 200%.
From my tests, mesh sandpaper is the best. Ceramic-based versions also perform super well, followed by aluminum oxide sandpaper.
The absolute best sandpaper I found is the 3M Xtract Mesh discs — which we now carry in our store.
Not only did it take off the most material the fastest and last the longest. It was one of the most affordable options.
4. ATTACH SANDER TO A SHOP VACUUM
Any power sander has a port for attaching to a shop vac — and you should use it.
Without any dust extraction, wood dust will cake up between your sandpaper and the workpiece, preventing full contact.
The sandpaper will clog up faster and become way less effective.
A shop vac clears out sawdust and keeps your sandpaper working for longer.
Not to mention it helps keep your lungs working for longer too.
5. PROGRESS THROUGH SANDPAPER GRITS
The lower the sandpaper grit, the more abrasive and aggressive its surface.
For the best results, you want to start at a lower grit and work your way up.
I typically do 80, 120, 150, 180 — and 220 if I’m feeling fancy.
Why should you not skip grits? It has to do with scratch marks.
80 grit sandpaper is great for quickly flattening a board, but it leaves deep scratch marks. The fastest way to get rid of the scratches is to follow up with 120 grit sandpaper.
If you skip straight to 180 from 80, you risk leaving some of those 80 grit scratches behind.
These might show up as “pig tails” — little curly cue scratches you might not see until applying finish.
It might seem like it’ll take forever to get through all those grits. But it doesn’t at all if you use the pencil trick (more on this below).
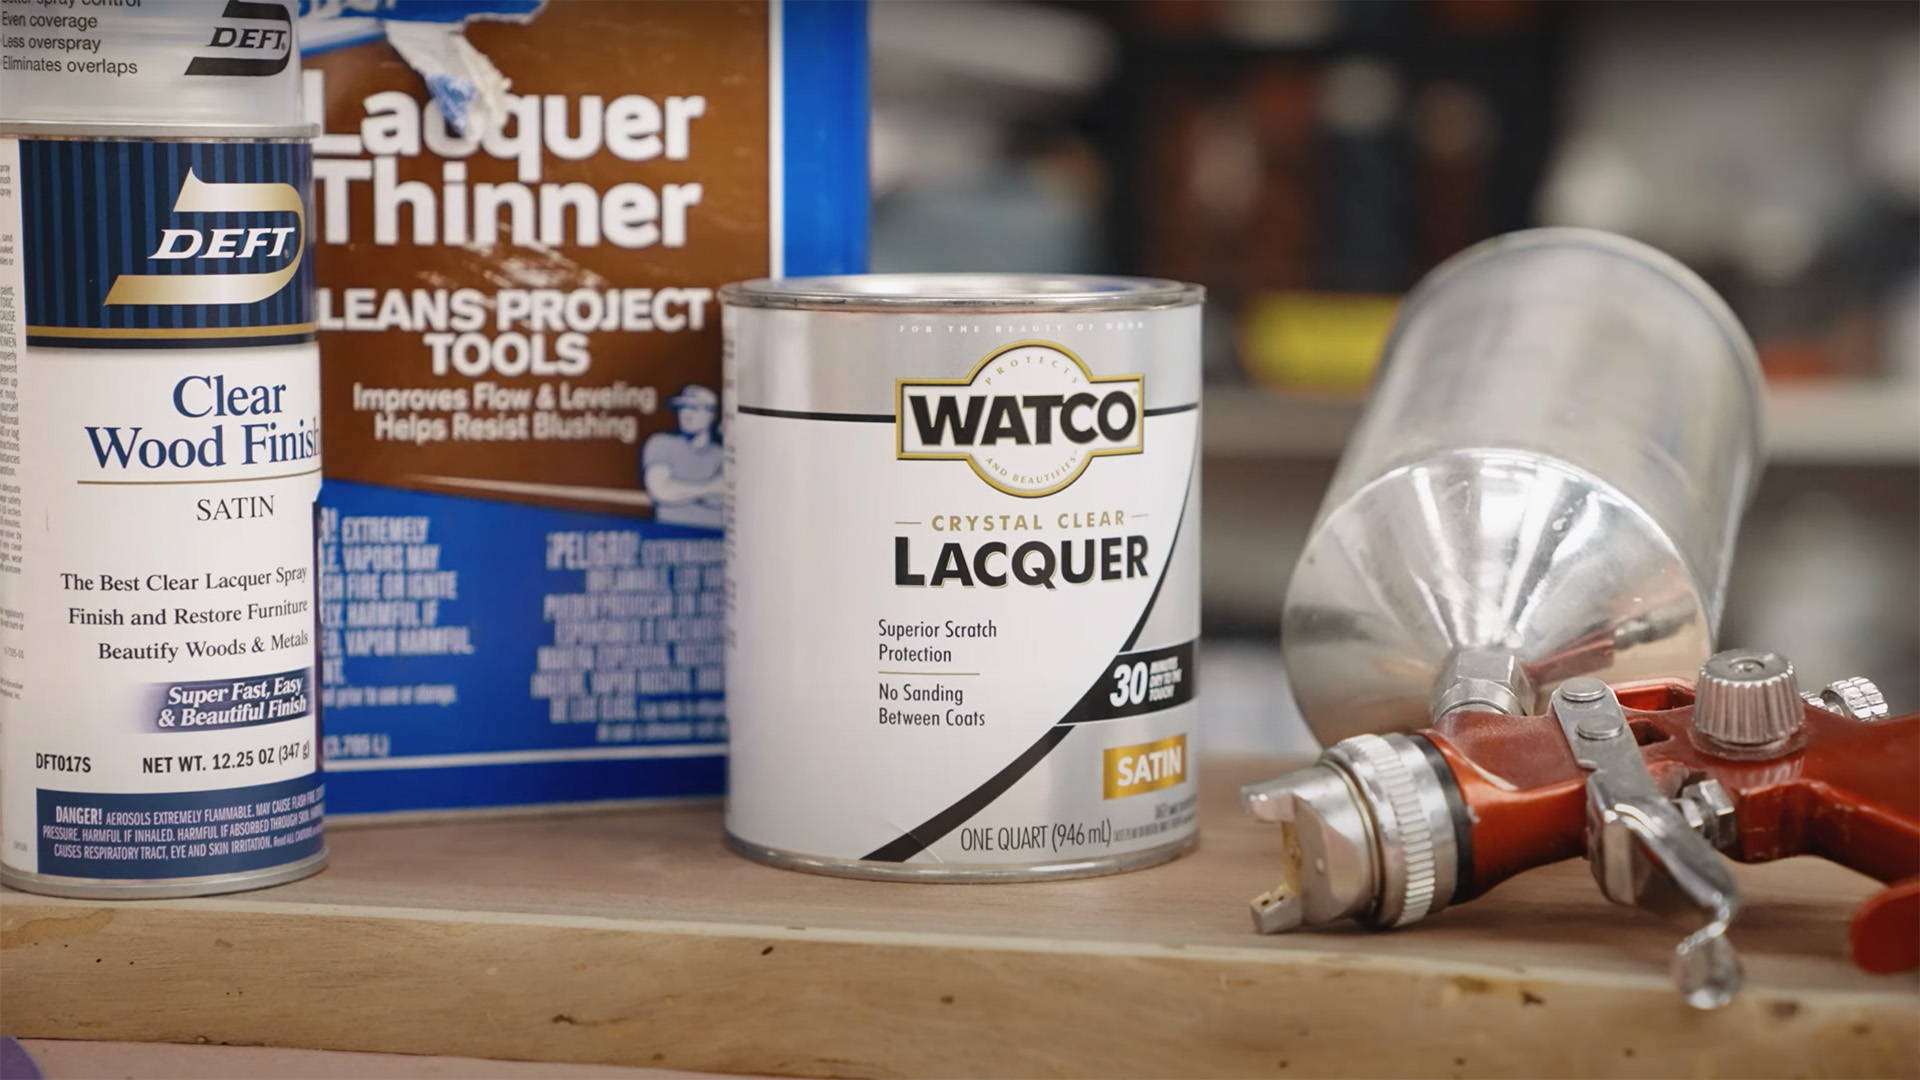
How high of a grit should you sand to? It depends on the finish you’ll use.
Self-wetting finishes — like lacquer and shellac — will rewet and bond to the layer of finish below.
They’ll fill in scratches and create their own smooth surface. So for these finishes, you really only need to sand up to 150 or 180.
For penetrating finishes, like oil, you’ll want to sand higher. 220 grit is plenty.
I only use higher grit sand papers (320+) for sanding between layers of finish — and rarely ever use anything lower than 80 grit.
6. CLEAN SURFACE BETWEEN GRITS
Before moving up to the next grit of sandpaper, give your board a quick wipe with a rag or a blast from the air compressor.
It’ll clear off any grits that may have broken off the sandpaper.
If any loose grits stay behind, you might end up sanding them into the surface and creating a deep scratch.
No need to get obsessive. Just blowing off the surface is enough.
7. USE THE PENCIL TRICK
This trick immediately skyrocketed my success with sanding.
Sanding board flats is important for the final look and sheen of your finish. This method provides a measurable way to know when your board is flat and you’re ready to move on to the next grit.
Here’s how it works:
- Scribble light pencil lines all over the surface you’re sanding. Use a light touch — you don’t want to jam pieces of graphite into the grain.
- Use your random orbital and start sanding with 80 grit sandpaper. Move at an even pace, about 1” per second.
- Once the pencil line is mostly gone in one section DON’T KEEP SANDING IT. If there’s a small area where the pencil doesn’t come off, it’s a low spot. Resist the urge to dig your sander in there.
- Once most of the pencil line is gone (excluding low spots), scribble on more lines and do it again. Repeat the process until all the pencil lines come off evenly. It’s flat!
It might take a few times with the 80 grit. But once the board’s flat, you’ll speed through the rest of the grits.
Just scribble on more pencil and sand until it’s gone. Once the pencil lines come off evenly, you’re ready for the next grit.
8. HOLD WORK WITH A ROUTER PAD
Router pads are the best solution for keeping boards steady while you sand on your workbench for a few reasons:
- Protect the bottom of your workpiece from getting gouged by stray wood chips
- Quick to set up since you don’t have to worry about using clamps, and provide access to the full surface of your workpiece
- Less tiring to use since you don’t have to hold the board steady with your other hand while sanding
We carry 24”x48” routing pads that are great for sanding, edge profiling, and finishing.
9. AVOID DAD SANDING
What’s dad sanding? It’s when you shove your electric sander into the workpiece with all the forearm force you can muster.
This isn’t good for your sander, sandpaper, or workpiece — and it’ll tire you out quickly.
Pushing too hard with random orbital sanders can even slow down the rotation of the pad.
Hold the sander down with enough pressure to keep it flat, but let the sandpaper do the work.
10. SAND NARROW PIECES TOGETHER
If you need to sand the edges of multiple narrow pieces (like legs), why not sand them together?
Push the pieces up against each other on your workbench and sand them all at once.
Gang sanding like this saves time and helps you avoid rounding over edges on narrow parts where you might struggle to balance the pad.
11. PROTECT WITH BLUE TAPE
Sometimes you need to sand one part of an assembly but don’t want to mar an adjacent piece.
Blue painter’s tape to the rescue.
Put a strip over the area you want to protect and sand away.
This is useful when you have two pieces coming together at a right angle and are trying to sand only with the grain.
12. BEWARE OF PLYWOOD VENEERS
When I’m sanding veneered plywood, I don’t use anything lower than 150 grit. And even still, I’m careful.
Hardwood veneers on plywood are ultra thin. It doesn’t take much to sand all the way through and expose the cheaper wood beneath.
And while I’m all about fixing mistakes — this is one that doesn’t really have a good solution.
Be extra aware when sanding plywood veneers to avoid this. Starting with higher grits is probably the safest bet.
13. GO HIGHER ON END GRAIN FOR EVEN COLOR
End grain absorbs finish like a sponge. And this often leads to it taking on a darker color than your long grain faces.
One trick for evening out the finish is sanding to a higher grit on end grain. It helps burnish it more and prevent it from absorbing as much finish.
If you sand your project to 180 grit, sand the end grain to 220.
I wouldn’t do this in every instance. In through tenons, the darker end grain can be a nice detail.
But it’s a good trick for getting even color around the edges of something like a tabletop.
14. FINISH BY HAND
I use my electric sanders for 99% of my sanding. But for the absolutely best look, it’s good to finish with a light hand sanding with the grain.
Use the highest grit sandpaper you sanded to with your power sander and attach it to a sanding block.
Give the most visible surfaces a good once over by hand, making sure to sand with the grain.
This will blend the scratch marks into the grain lines and make them less visible.
You don’t need to do this for every inch of your project, but it’s definitely a nice touch on the show faces.
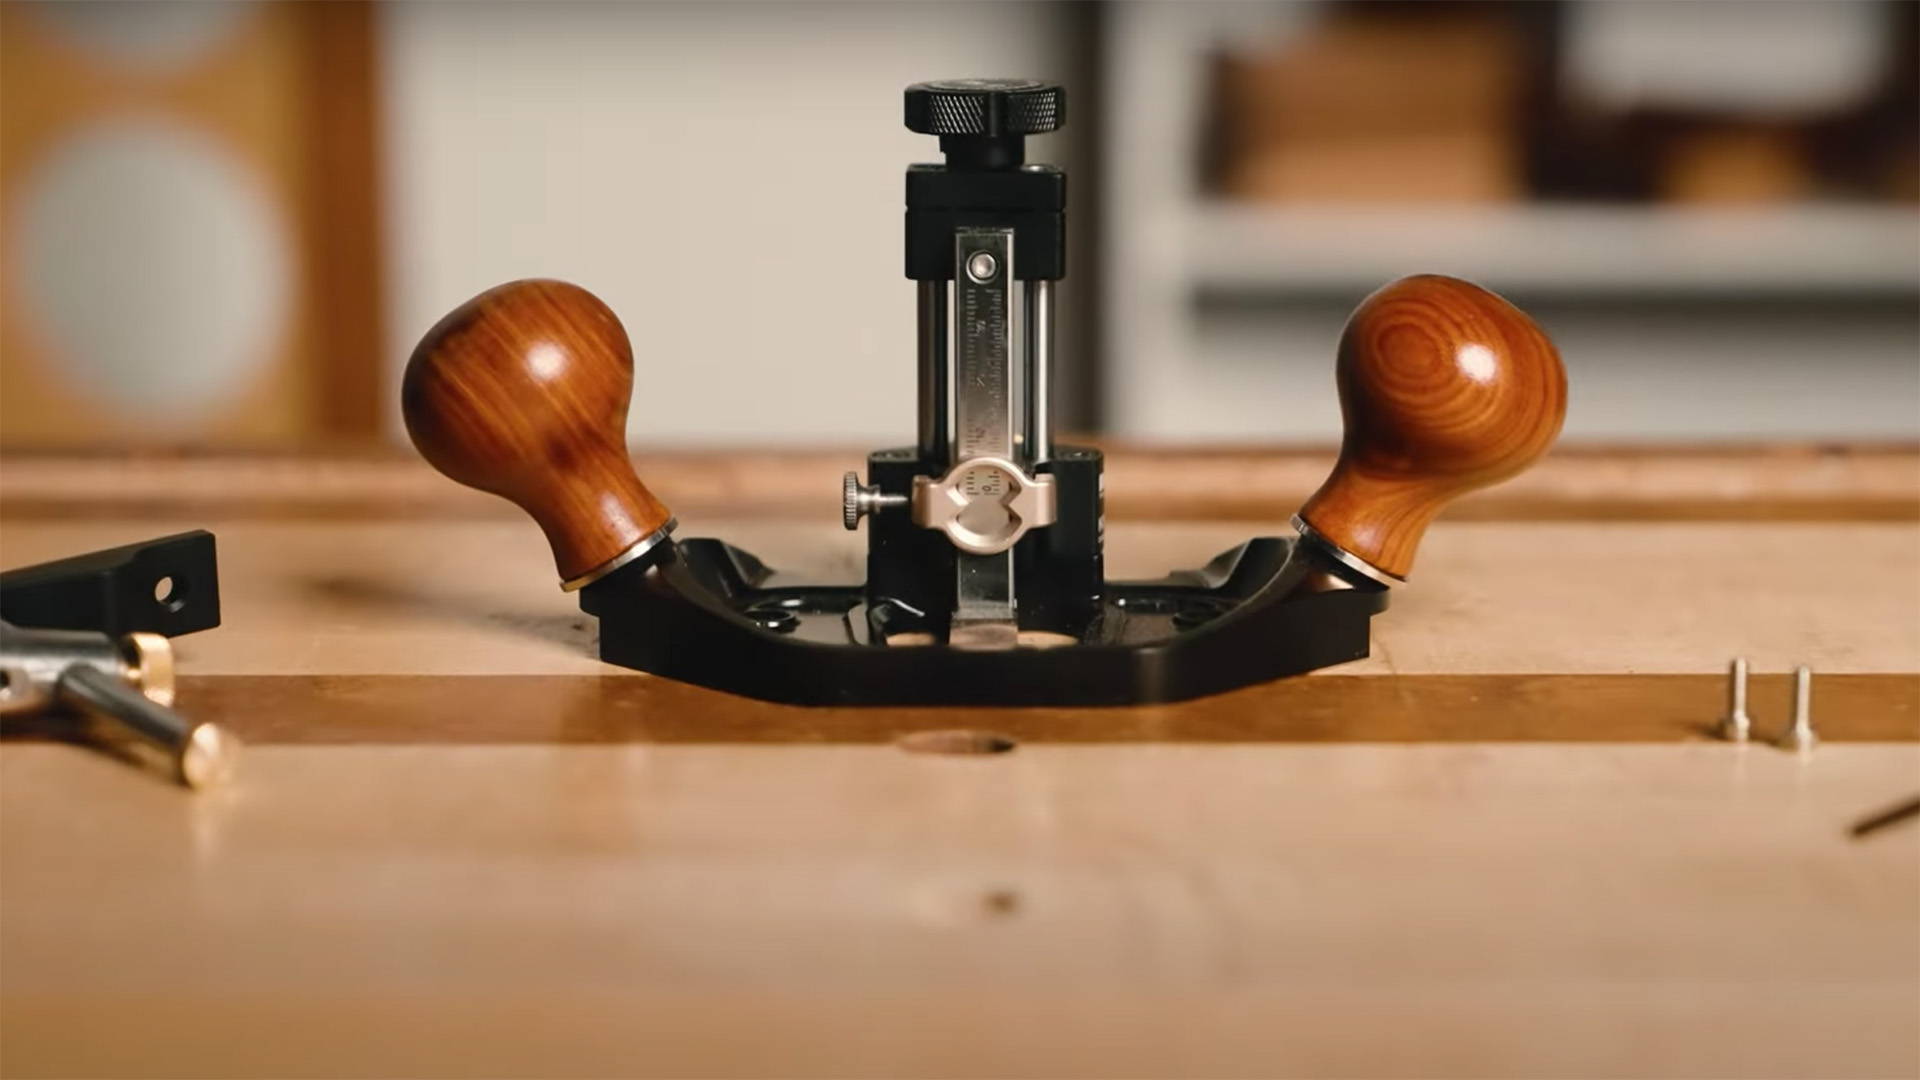
15. KNOW WHEN SANDING ISN’T THE BEST OPTION
Sometimes you have chamfers you need smooth — but they’re so small it’s difficult to sand without rounding over the edges.
This is where a card scraper shines.
When properly sharpened, they can give you glassy smooth surfaces even on narrow or hard to reach areas. Finish up with a quick buff using 220 grit sandpaper and you’re good to go.
Some people swear by finishing only with hand planes. And it’s true that they can create incredibly smooth surfaces.
But it’s difficult to get it super even over larger surfaces. So I’ll still always finish up with at least a light sanding.
SAND SMARTER, NOT HARDER
I can’t make sanding fun for you. But I can help you get through the process quicker with spectacular results.
Following the tips above will help you speed through the process — and claim success the first time around so you don’t have to worry about any mistakes.
Want to sand faster and better? Use the fastest, best sandpaper out there — which we now carry in our store. Click below!
What sanding problems have you encountered in the past? Let us know in the comments below!
Follow us on Instagram @katzmosestools, on TikTok @katzmoseswoodworking, and check out my YouTube channel for more great woodworking content...
And as always, STAY SAFE IN THE SHOP!

3 comments
Patrick
Great article. I really appreciate the emphasis on making this a quick process (well, quicker than we often make it to be).
One thing I think was overlooked was the value of using hard sanding blocks over the soft-bottomed ones (at times). I will usually spray-glue sandpaper to a small flat block. I find these especially helpful when sanding edges or chamfered edges to keep the corners nice and sharp. When the paper is glued around a sharp 90-degree block they are good for getting into corners when the grain is running in the same direction.
Geoff
I get why we always progress through the grits, but I don’t know why we’re always told to start at 80 grit. Often my workpieces are already flat and smooth (ex: straight from the planer). If the surface is already smooth, is there any reason not to start with 150 grit instead of 80?
I get why we always progress through the grits, but I don’t know why we’re always told to start at 80 grit. Often my workpieces are already flat and smooth (ex: straight from the planer). If the surface is already smooth, is there any reason not to start with 150 grit instead of 80?
John
I can never seem to avoid getting swirl marks, especially at the edges of a panel where the sander changes directions, even with blowing off the surface between passes, and it happens with both my random orbital and finishing (pad) sanders.
I can never seem to avoid getting swirl marks, especially at the edges of a panel where the sander changes directions, even with blowing off the surface between passes, and it happens with both my random orbital and finishing (pad) sanders.