The best woodworking isn’t just functional — it’s beautiful too (unlike many in-laws, who are just the opposite).
And butterfly keys are a prime example of how beauty and function can work together.
They go by a lot of names: Bowtie keys, dovetail keys, dutchman, DeVito joints (I made one of those up)…
But whatever you call them, they’re created through a simple process — which you can use to inlay any shape you like.
Today, I’m channeling my inner lepidopterist and explaining the basics of butterfly keys…
Including 5 ways to cut them, a simple inlay process, and a few tips to make sure you don’t rip off the wings along the way.
TABLE OF CONTENTS
WHAT’S THE POINT OF BUTTERFLY KEYS?
The biggest use case for butterfly keys is stabilizing slabs.
Since slabs are super-wide boards, they’re extra susceptible to wood movement. This shows in “checking” — which are cracks that form along the long grain.
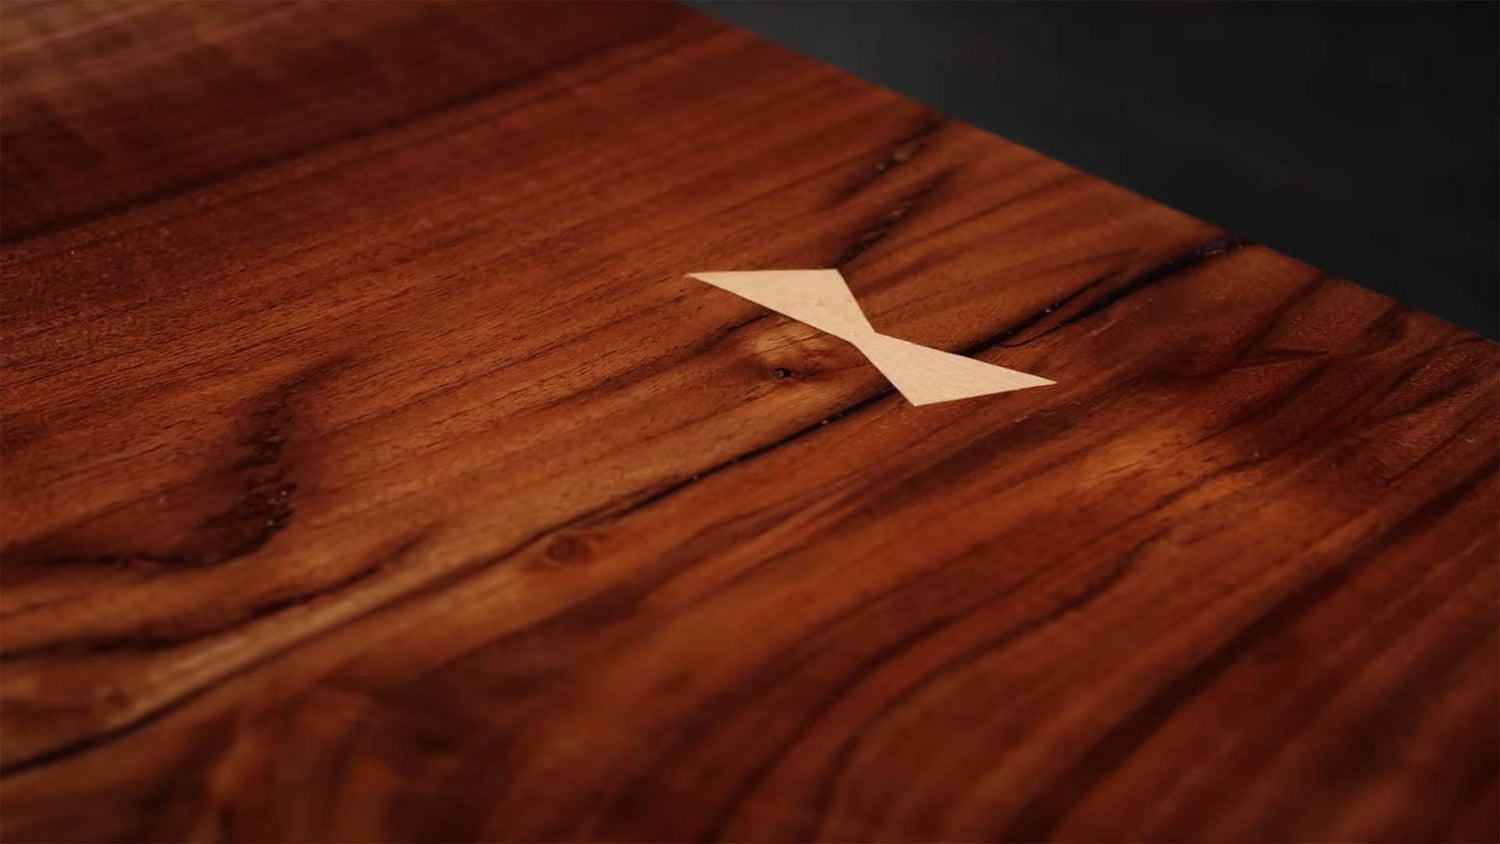
Butterfly keys are inlaid across cracks to mitigate wood movement and keep them from opening any further.
With wider ends and a narrower middle, they work to anchor the two sides of the crack together.
You’ll also sometimes see butterfly keys used in picture frames to add strength to the miter joints.
Beyond added strength, they look cool.
Even if you’re not working with a slab, inlays are an awesome way to add ornamentation and detail to a project.
A FEW TIPS FOR SUCCESS
CUT THE KEY FIRST
With mortise and tenon joints, it’s best to cut the mortise first so you can shape the tenon to fit.
But for butterfly keys, it’s best to do the opposite.
Cut your key first, then trace its shape onto your workpiece. As long as you're precise, you know they’ll be a perfect fit.
KEEP KEYS STRONG WITH LONG GRAIN
For your key to be strong, cut it so it’s long grain from end to end.
Since wood moves more across the grain, the long grain of your key is what’ll hold your slab together.
A key that’s short grain from end to end will move with the slab and do nothing to prevent a crack from opening further.
Plus, it’ll probably snap when you go to hammer it in. And other woodworkers will be mean to you.
GET THE RIGHT THICKNESS
This isn’t ultra-critical, but your butterfly key should be about ¼ to ⅓ the thickness of your slab.
Too thin and it won’t have much strength. Too thick, and you’re just making more work for yourself.
Too immature, and you’ll forget we’re talking about woodworking.
CHAMFER THE BOTTOM EDGES OF YOUR KEY
A slight chamfer on the bottom of your key helps you get it into the recess without bruising any edges.
No one will ever see it, so it doesn’t need to be pretty. Feel free to hack out a chamfer with a chisel or pocket knife.
5 WAYS TO CUT BUTTERFLY KEYS
Whichever way you cut it (pun intended), the first step is figuring out your butterfly key’s shape.
I prefer asymmetrical butterfly keys over perfect hourglasses. They lend a more hand cut look — and are just way more interesting.
The only thing you should do is get those sides as straight as possible. It makes cutting the recess a whole lot easier.
BAND SAW BUTTERFLY KEYS
Band saws are one of the best tools for cutting irregular shapes — and they shine for butterfly keys.
The only tricky part is keeping your cuts straight. Use a wider blade for better results.
I’ve even seen a few people make band saw jigs to get the lines perfect (like this video from my buddy Cam of Blacktail Studio).
But if you freehand cut your keys, you’ll need to do some cleanup.
One way to do this is with a chisel. Lock the key in a vise and carefully pare away material, using flat sections as reference faces.
It’s helpful to come in at an angle so you get a shearing cut, as opposed to just jamming the blade straight through.
Another option is to give the sides a light pass on a belt sander. Just be careful to not go past the waist of the key (probably best to dial in the middle with a chisel).
ROUTER TABLE BUTTERFLY KEYS
If your bandsaw cuts come out wonky, it’s easy to clean them up on the router table.
First, insert a good flush trim bit. Then find two strips of scrap that have flat edges.
Use double stick tape to attach the two strips to your rough-cut butterfly key. Their outside edges will mark the final edges of your key.
Set up your router so the bearing on the flush trim bit references the scrap pieces, and make the cut (here’s some template routing tips while you’re at it).
As long as you get close to the line on the band saw, this is a quick and easy way to cut perfect keys of any angle.
TABLE SAW BUTTERFLY KEYS
I got this tip from the one and only John Malecki (here’s the video).
Just be warned: This is more of an expert-level (a.k.a. dangerous) way to cut butterfly keys.
All you need is a good crosscut sled and your regular table saw blade.
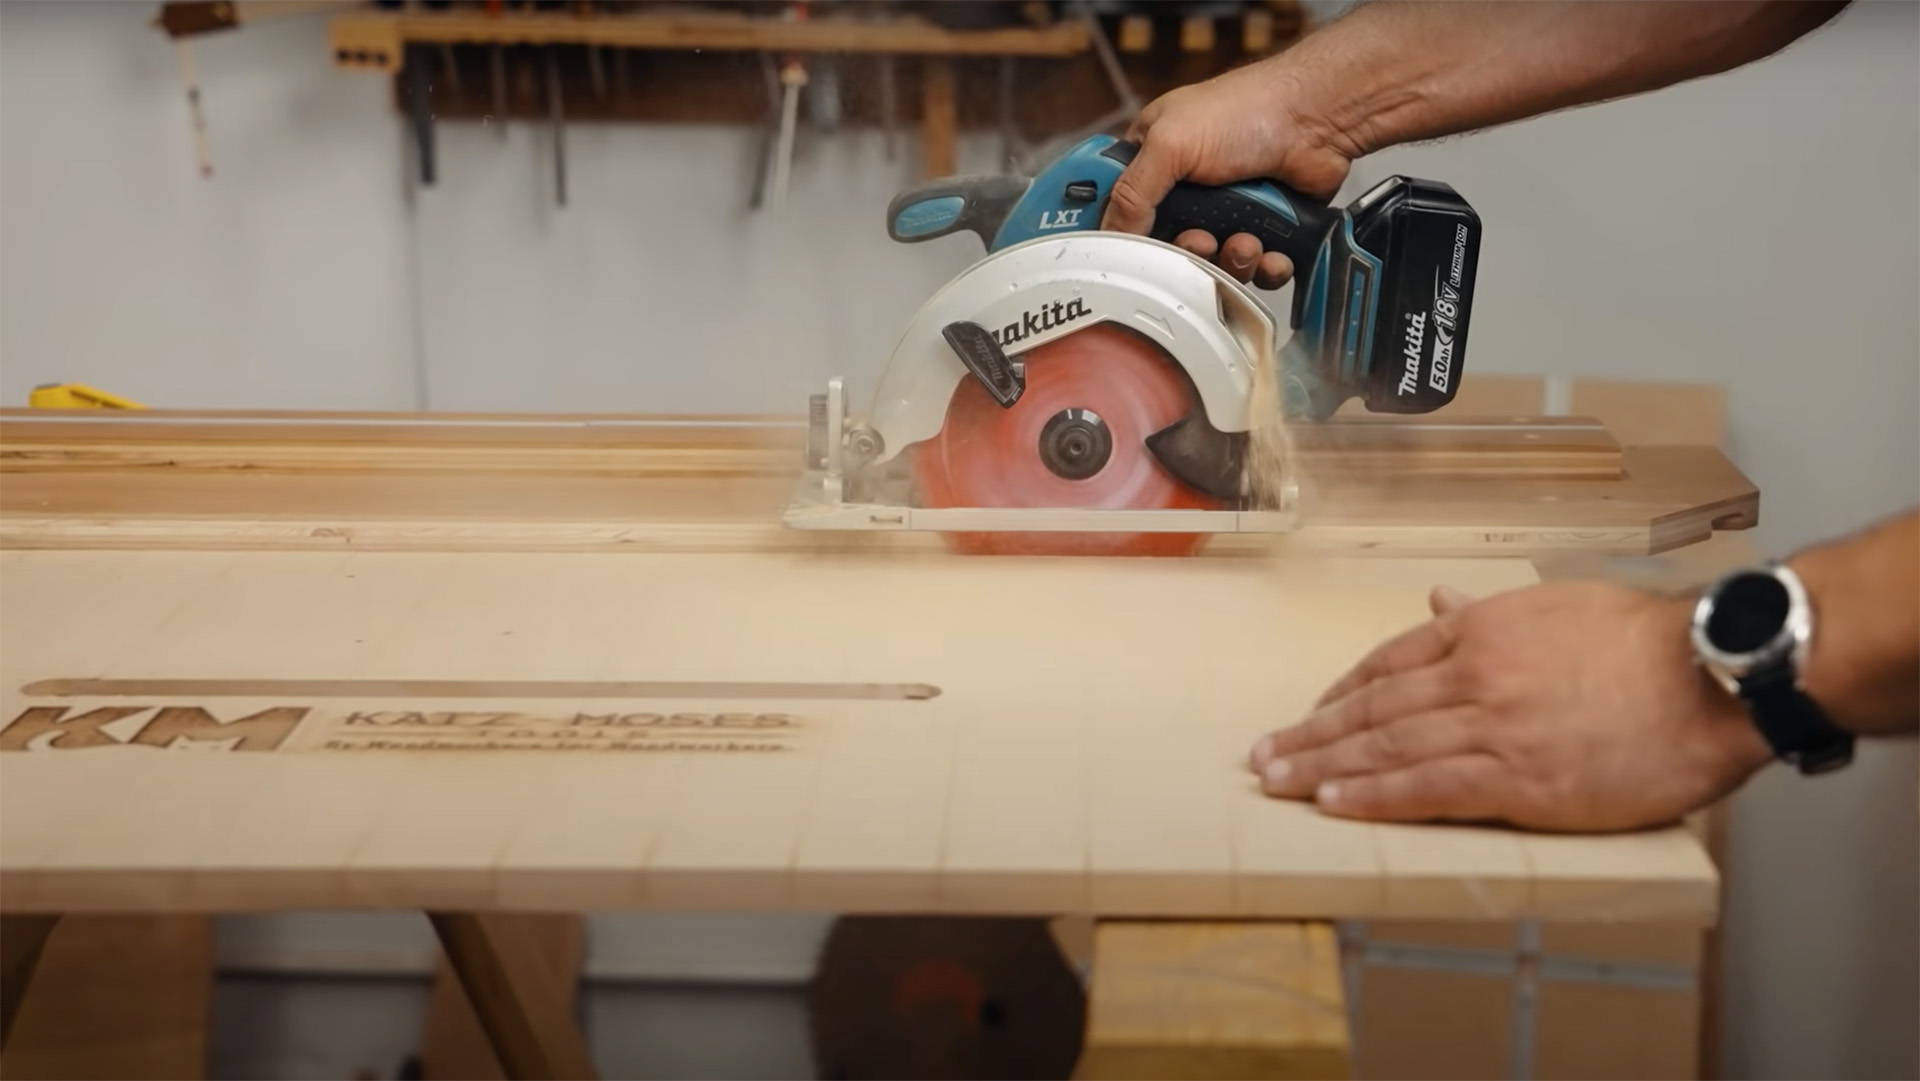
Set the blade bevel at the angle of the key sides. Then with the key supported vertically on the crosscut sled, take a pass on one of your sides.
Set the blade height so it cuts a little shy of the full length of each side. Repeat the cut for all four sides, then clean it up with a handsaw and chisel.
GO OLDSCHOOL OR NEWSCHOOL
Don’t have a lot of machinery — or think it’s for cheaters? Cut butterfly keys with a handsaw.
Read these tips for accurate hand sawing — and be ready to clean it up with some sharp chisels.
Are you a machine enthusiast who thinks the Terminator was just “misunderstood?” Cut your keys on the CNC.
I made a live-edge desk that used six differently sized butterfly keys, all at the exact same proportions.
Without Fusion or my CNC, that would’ve taken way more brain power than I’d have liked.
HOW TO INLAY BUTTERFLY KEYS
Now that your butterfly key’s ready, it’s time to cut its cocoon.
There’s more than one way to make the recess, but here’s what I do.
1. TRACE THE KEY
Place your key where you want it on your workpiece.
You can use double stick tape to secure it or keep it steady with your hands. You don’t want it to move until you’re done tracing.
Use a marking knife with a wide and stiff blade (here’s one we sell).
The trick is keeping the flat part of the blade against the sides of the butterfly key as you trace your line.
If you trace with your marking knife at an angle, you could end up cutting a recess slightly too small for your key.
2. CLEAR OUT MOST OF THE WASTE
This is one of the few instances where I find a compact router works better than a full-sized router. It’s just a whole lot easier to control for fine work.
(Looking for a compact router? Check out my unsponsered review of 7 popular compact routers.)
Now, choose the right bit.
I always use spiral bits over straight bits. They’re more efficient, cut cleaner, and stay sharp longer (read more about spiral bits here).
Whether to choose an upcut or downcut bit depends on how close you plan on getting to your lines.
Upcut bits evacuate chips faster, but might leave a bit of fluff at the edges. Downcut bits cut slower, but allow you to get closer to your line while leaving a clean top edge.
When setting the cutting depth, plan to leave the key proud so you can flush trim it later.
Flip the router upside down and set the butterfly key next to the bit. Adjust it so the tip of the bit is slightly below the thickness of the key.
Now, either plunge the bit or drill a starting hole in the center of your waste.
Take small bites, slowly moving closer to your lines without going over them. The closer you get, the less work you’ll have to do with chisels later on.
CONTROL TIP
To maximize control, keep your palms flat on the workpiece and only move your router with your thumbs and fingers.
It helps you take micro-bites and get super close to your line without accidentally going past it.
3. FINISH EDGES WITH A CHISEL
Get your widest chisel for this — and make sure it’s sharp.
If you got really close to your line with the router, you can just set the blade in the marking knife line and cut it down.
If there’s still a bit of waste, cut it in half until you reach the line (read more about chisel technique here).
The final walls of your recess need to be exactly 90° — or slightly undercut — for the key to fit well.
Otherwise, you’ll get a wedged hole that won’t let the key sit flat on the bottom.
Be careful to not mess up the corners. Just like you would with a mortise, swivel into them with one edge of a chisel.
4. ADD GLUE AND INSERT THE KEY
Put a bit of glue in the recess and spread it around the bottom and the edges.
I don’t recommend putting glue on the key itself. It might swell up before you stick it in and not fit (*wink wink, nudge nudge*).
Use light pressure to set the butterfly key in the recess. The chamfered bottom edges will be a big help here.
Then use a mallet to knock it in. I’ll often place a piece of scrap over the key to diffuse the blows and create even pressure. It lowers the risk of snapping the key apart.
You’ll know the key’s at the bottom of the recess when the sound of the mallet blow changes (from thud to thud… you know)
Rub some sawdust over the edges and let it dry. This will make it look seamless — even if there are a few small gaps.
5. CUT THE KEY FLUSH
Once the glue has dried, it’s time to cut the butterfly key level to your workpiece.
Avoid just sanding it down. This can round over the key, and even leave a slight dip around it.
My favorite method is with a hand plane.
Run your plane across the length of the key so you’re cutting with the long grain. Just keep taking passes until you just barely start to take material off your workpiece.
You could also use a flush cut saw. Just be sure the blade stays flat so you don’t cut deeper than the surface of your workpiece.
Another method is with a router, and two pieces of scrap of the same thickness.
Place the pieces on either side of the butterfly key to support the base of your router. Lower the bit so it’s within a hair of the workpiece, and take multiple passes over the key until it’s flush.
This is super easy with the 6-in-1 Universal Trim Router Jig we released in tandem with Tamar — with no scrap wood necessary (check it out here).
Once the keys cut down to the surface of your workpiece, all that’s left is to sand everything down and move on to the rest of your project.
FLY LIKE A BUTTERFLY, STING LIKE A KEY
Butterfly keys are not only useful for stabilizing slabs or miter joints. They look freakin’ amazing.
The coolest part is you can use the steps above to inlay any shape — whether that’s a wooden leaf or a portrait of your ex (they don’t deserve you).
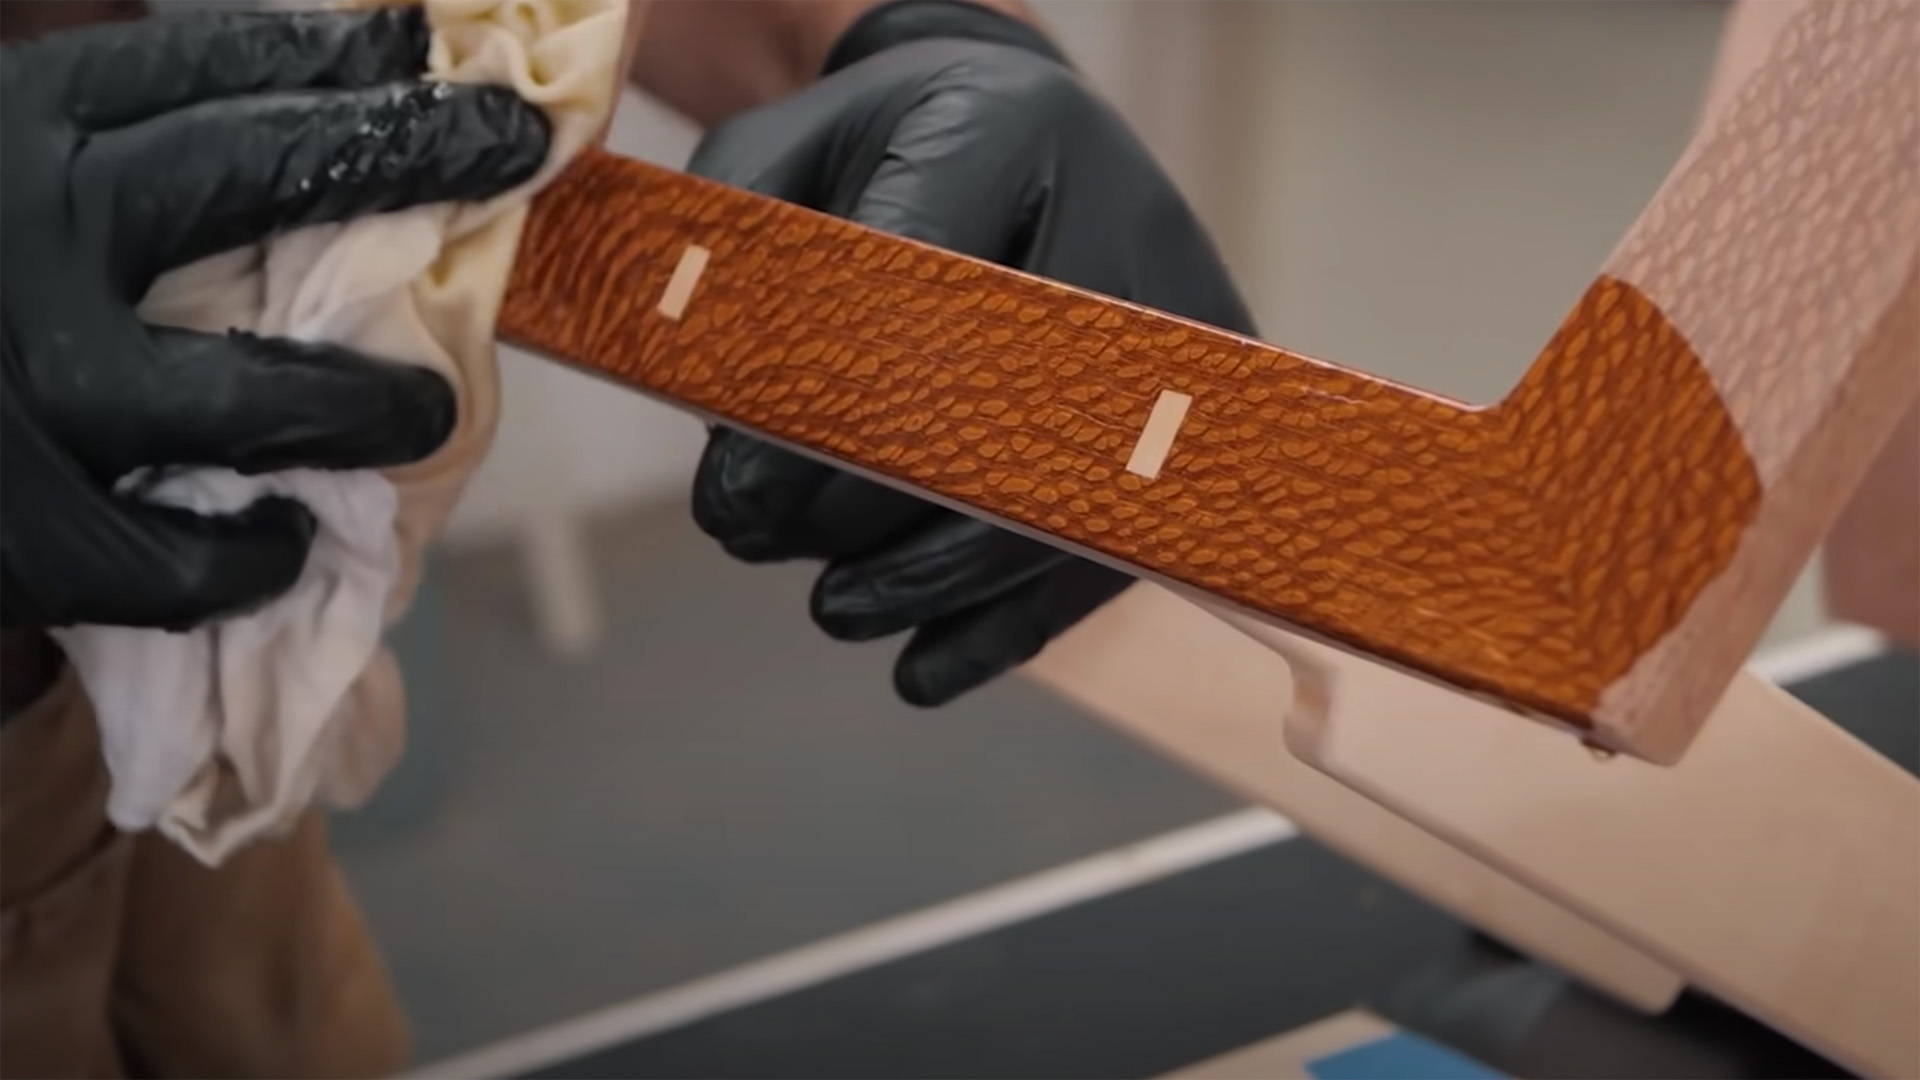
You can even inlay materials besides wood. In this video, I inlaid abalone shell butterfly keys in a Nakashima-inspired stool (just be warned abalone dust is super toxic, so follow all safety precautions if you try it yourself).
The only real limit is your creativity. So feel free to get weird.
Got any of your own butterfly key or inlay tips? Let us know in the comments below!
Follow us on Instagram @katzmosestools and check out my YouTube channel for more great woodworking content...
And as always, STAY SAFE IN THE SHOP!


3 comments
Randy
Send info
Send info
philip
is there a jig to cut butterfly wedges?
is there a jig to cut butterfly wedges?
Stefan Denk
Would you also use a butterfly key to prevent a large slab from splitting (further) during its drying process? I got a nice 40" oak cut into slabs – some dry nicely, some have started splitting in the middle and the cracks are ever so slowly widening.
Would you also use a butterfly key to prevent a large slab from splitting (further) during its drying process? I got a nice 40" oak cut into slabs – some dry nicely, some have started splitting in the middle and the cracks are ever so slowly widening.