


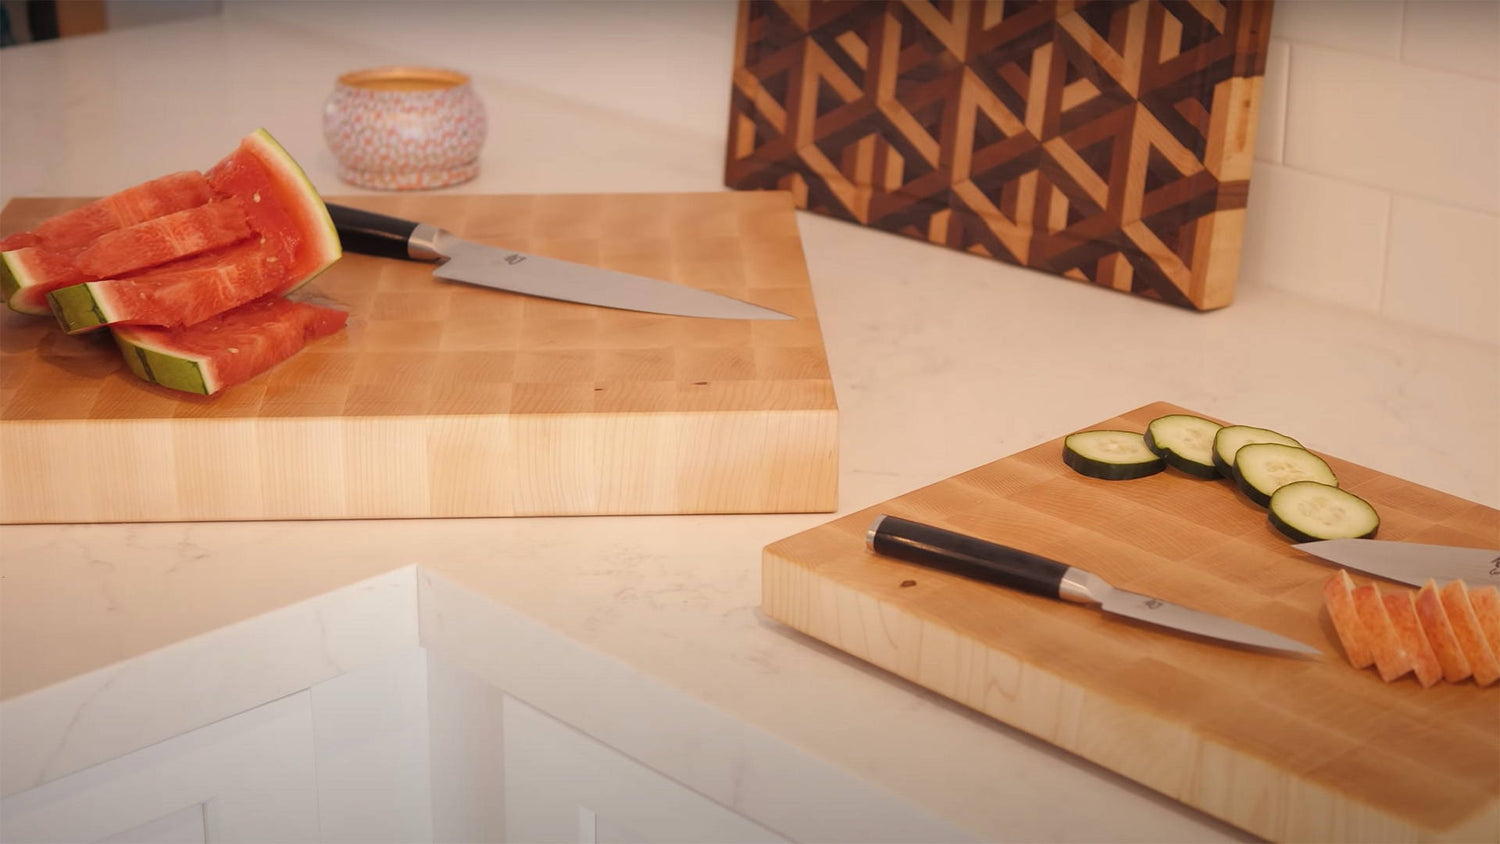
Want to make money woodworking? End grain cutting boards are the place to start.
They can be as simple or complex as you like (plain maple ones can go for over $100 — even upwards of $500 in some cases), and are a great way to turn a profit on very little lumber.
Once you understand the process, you’ll have no problem building them — whether to sell, to gift, or to stop your significant other from spending their entire paycheck at Williams-Sonoma.
I’m going to help you get started by laying out the basic process for making your own end grain cutting board.
This post will guide you through the order of operations and pitfalls to avoid…
So you can get to chopping up those veggies pronto.
BENEFITS OF END GRAIN CUTTING BOARDS
End grain cutting boards take a lot longer to make than long grain versions — so why bother?
Because the end grain surface is better for the durability of your knives and the board itself.
Wood fibers in end grain are bunched together like a bundle of straws.
When you chop a knife into them, they separate and sort of absorb the knife instead of fully resisting the blade like long grain would.
This spongier surface prevents your knives from dulling as fast — and is more resistant to scratches and cut lines.
DISCLAIMER: You might find people out there that call the truth of this into question. However, it's still the consensus amongst professional chefs and cooking enthusiasts.
The one downside is end grain cutting boards require more maintenance, which I’ll cover below.
HOW TO MAKE A BASIC END GRAIN CUTTING BOARD
I’m going to walk you through how to build a 2 inch thick, 12x16 inch end grain cutting board out of maple.
Maple is one of the most popular woods for cutting boards because of its hardness and durability. But any tight grained hardwood can work (so maybe avoid oak).
Simple end grain cutting boards are made by multiple blocks of wood glued together on their long grain sides — so keep that in mind for figuring out dimensions.
STEP 1: FIGURE OUT DIMENSIONS
This can be confusing, but bear with me.
It helps to think about it in terms of the individual end grain blocks of wood. In our example, each piece will have 2 x 1.5 inches of end grain surface and be 2 inches tall.
If you want your board to be 12 inches wide, you’ll need eight blocks (12” / 1.5” = 8 pieces)
Now let’s say you want the board to be 16 inches long — meaning you’ll need eight blocks to reach that length (16” / 2” = 8 pieces).
Multiply the final thickness you’re after by the eight blocks to get 16 inch long pieces (2” x 8 pieces = 16” long pieces).
So to make a 12x16 inch end grain cutting board that’s 2 inches thick, you’ll need eight 2x1.5x16 inch pieces of wood.
That’s in a perfect world. But you’ll want these pieces slightly oversized to account for material lost to blade kerf, planing, and sanding.
If you have a 7 inch wide board planed to 1.5 inches thick, you’ll chop it into three 16+ inch pieces (I’d say 17 inches to be safe)..
Confused? Don’t worry. You can always wing it by having some extra pieces to add if needed.
STEP 2: MILL YOUR LUMBER
Milling lumber correctly is extra important for end grain cutting boards.
You’re going to glue a lot of edges together — and they need to be flat and square so you don’t get spaces between the pieces.
Read this for tips on milling like a pro.
Once your boards are at their final thickness (e.g. 1.5 inches), chop them into smaller lengths.
In our example where we’re working with a 7 inch wide board, that’ll be three pieces around 17 inches long.
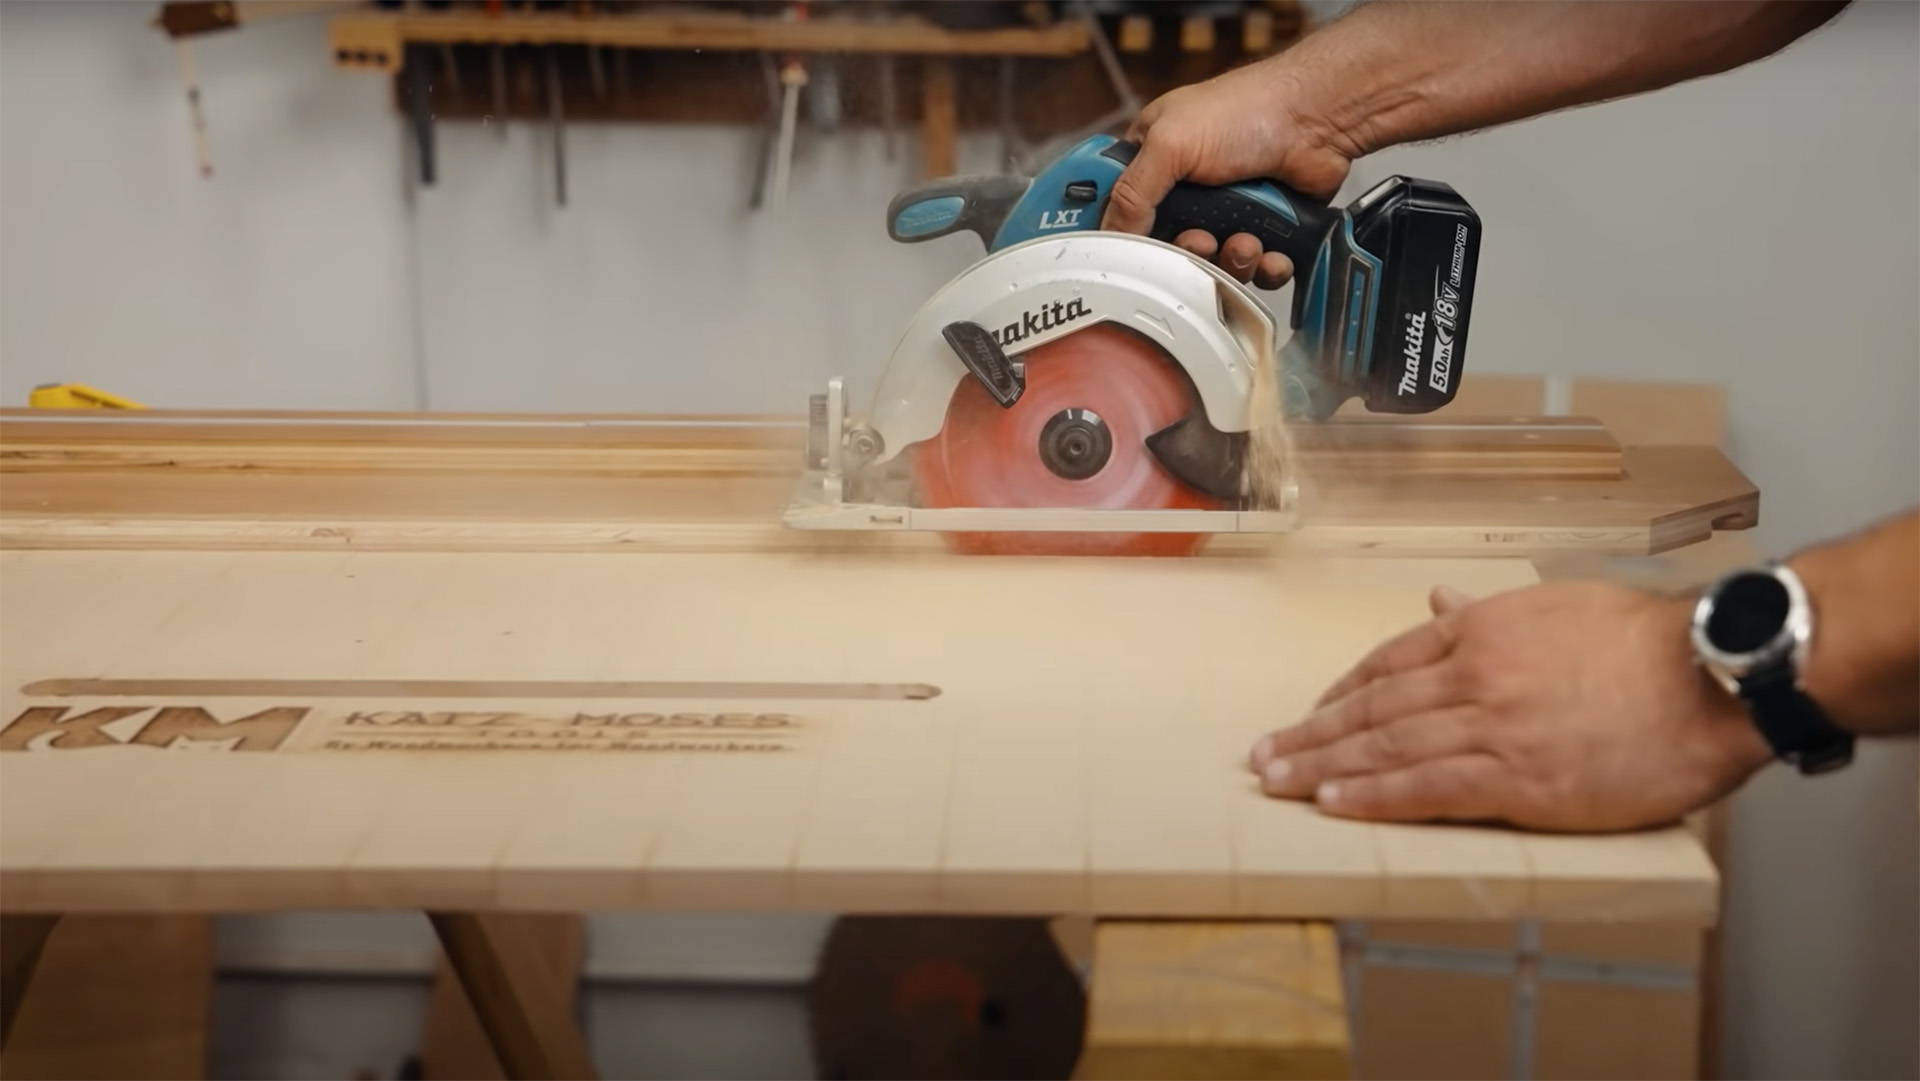
STEP 3: RIP IT UP
Now you’ll rip your boards into equal width pieces.
Set your table saw fence to the desired dimensions (2 inches in our example), and get to ripping.
I highly recommend using a dedicated ripping blade for these cuts.
The big gullets clear out sawdust faster and help reduce burning on your wood — saving you clean up later on (read more about table saw blades here).
This is especially helpful with maple, which is notorious for burning.
Make sure to use a featherboard and good push stick, and follow all the protocols to avoid kickback.
Also, it’s always worth cutting up a few extra pieces.
Cracks can appear when you're cutting up a board, so the extras are your insurance policy.
STEP 4: FIRST GLUE UP
Now that all the pieces are cut to size, it’s time to glue them up.
Parallel or pipe clamps are best since they help keep the pieces flat.
If you don’t have any, use some cauls to help with alignment along with your regular clamps (read more about clamp tips here).
CLEAN CLAMP TIP:
No one wants to clean dried glue off their clamps.
Save yourself the trouble by putting a strip of blue tape on the bar before the glue up.
When you’re done, just rip it off and replace it with a fresh piece for the next glue up.
Lay the strips of wood on your clamps up against each other. Set any cracked pieces on the outside edges so you can trim them later.
Make sure the pieces are oriented correctly. In our example, we’re gluing the 2 inch wide faces together at this point — so start with those facing up.
Now cover the faces with a healthy pour of glue. Go with a water-proof glue like Titebond 3 since cutting boards are exposed to a lot of moisture.
Spread the glue evenly over all the sides from end to end. Then rotate all the pieces the same direction so one glue-covered face meets a glue-free face.
Use a straightedge to make sure the ends are aligned and slowly tighten the clamps.
If any pieces start to slide up out of alignment, use a mallet to pound them back into place.
Once the clamps are tight and nothing’s shifting, clean off the excess glue with a damp rag. Trust me, do this before it dries.
Now crack open a cold one and wait for the glue to dry.
PLANING AHEAD TIP:
The next step is going to be flattening your glue up by running it through the planer — so it’s good to keep your planer’s width capacity in mind.
If your cutting board is going to be too wide to fit, do two smaller glue ups.
You can then plane those pieces individually and glue them together afterward. Just be extra careful with alignment.
STEP 5: FLATTEN THE GLUE UP
Once it’s dry, remove the glue up from the clamps.
Use a block plane to take off any remaining dried glue, then run the board through your planer until it’s flat.
If you cut the pieces slightly oversized, you can plane it to a final thickness of 2 inches.
No planer? Here’s a few other ways to flatten a board.
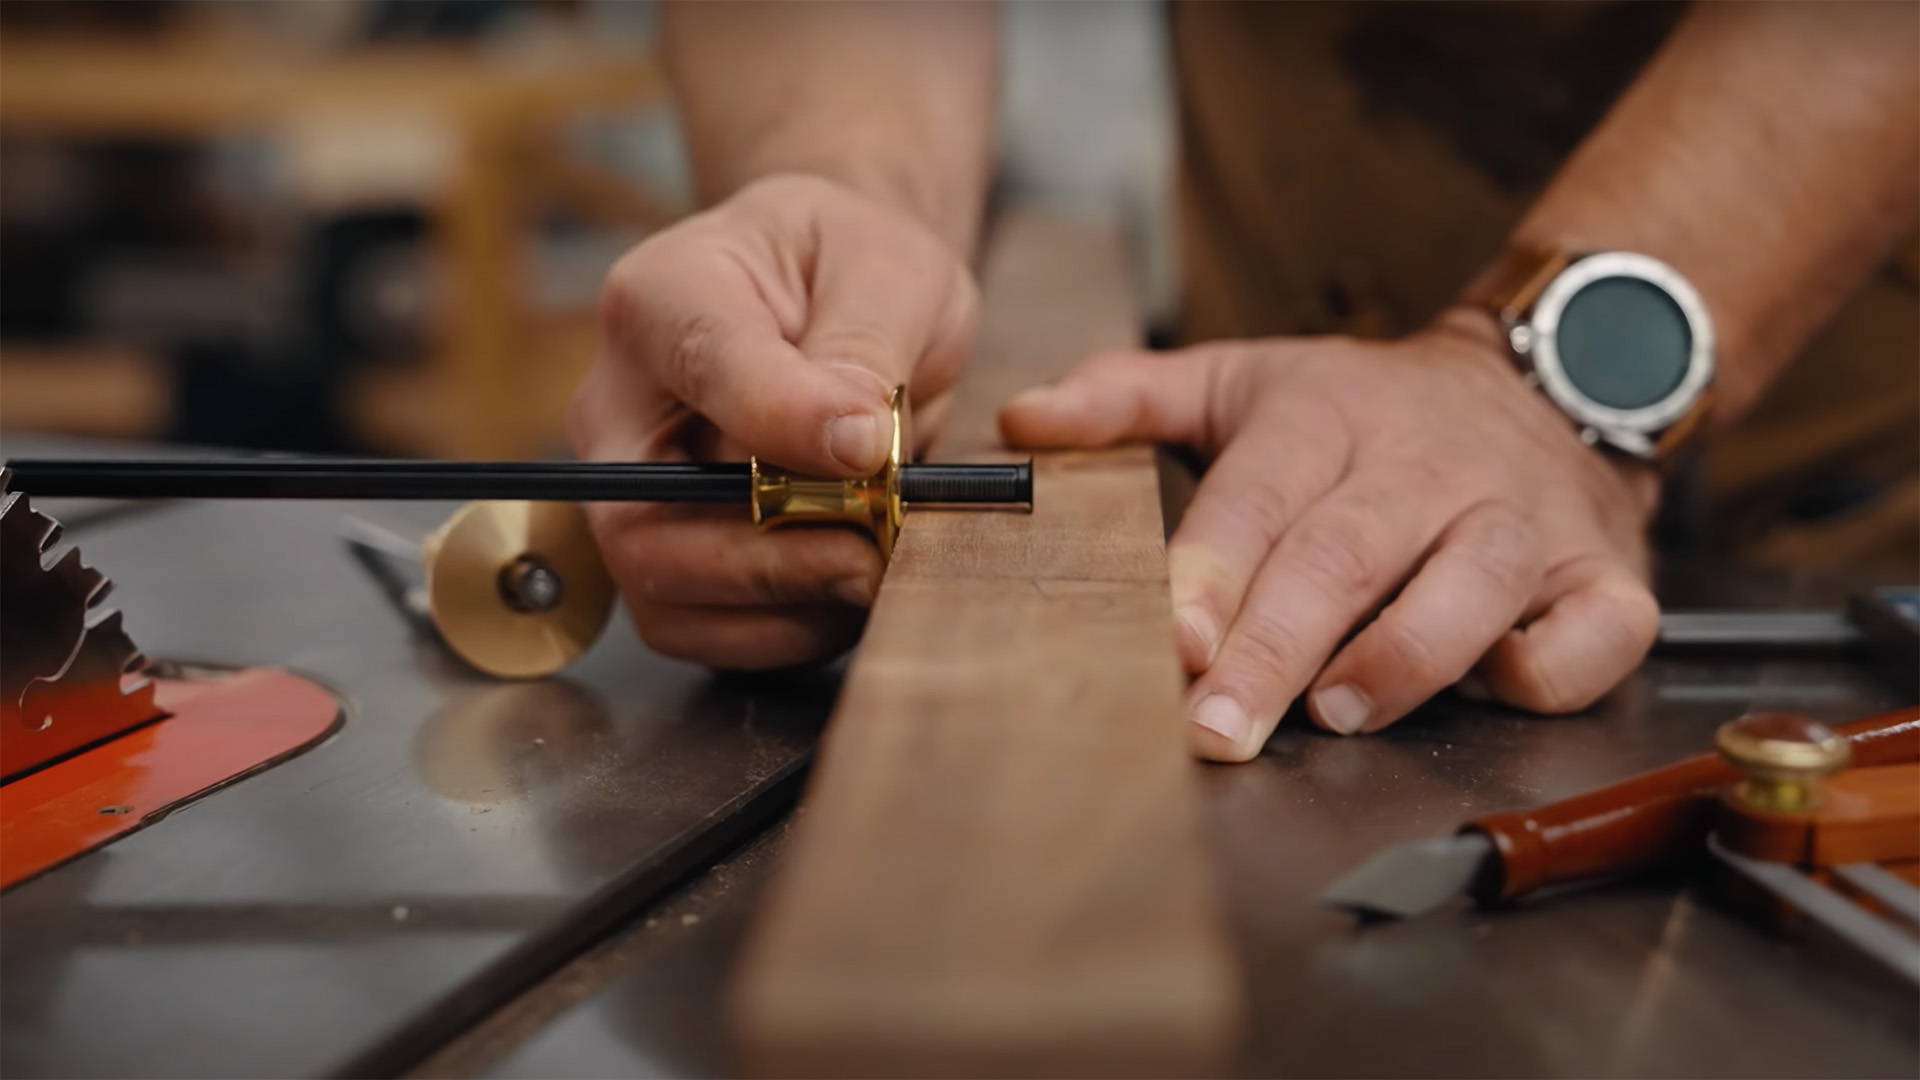
STEP 6: CROSSCUT THE BOARD
Now you’ll crosscut the board into equal sized pieces. I do this on the table saw with a crosscut sled and stop block.
The width of these crosscuts will equal the thickness of your cutting board — so cut them slightly oversized to account for sanding.
CLEAN CUT TIP:
These cuts are going to expose the end grain that will be the tops and bottoms of your cutting board — so you want to minimize burning and tearout as much as possible.
Use a dedicated crosscut blade to reduce tearout — and don't move through the cut too slowly to prevent burn marks.
You’ll probably get some burning, especially with maple.
But the less, the better. Sanding burn marks out of end grain is a punishment I wouldn’t wish on my worst enemies (except maybe John Malecki).
Once your crosscut blade is installed, trim one end off the glue up to create a clean reference edge.
Then set up your stop block for a little more (maybe 1/16 inch) than the final thickness you’re after.
In our example, we want a 2 inch thick cutting board — so I set my stop block a hair past 2 inches from the blade to account for sanding later on.
Once that’s locked in, butt the clean cut edge against the stop block and cut up the entire board into equal pieces.
STEP 7: SECOND GLUE UP
This is where alignment gets critical.
You’re going to glue the long grain edges together — and want the end grain surfaces to be as even as possible.
Follow the same process as the first glue up, but really make sure the pieces stay flat so you have less sanding to do later on.
Make sure the bars on your clamps are clean so everything sits level. Then slowly tighten the clamps and use a mallet to pound any shifting pieces back into place.
Again, clean off excess glue once the clamps are tight — and crack open another cold one while the glue dries (take it easy…).
STEP 8: SAND, SAND, SAND
There’s no nice way to say it — sanding end grain sucks.
It takes buckets of patience, but I have a method for making sure everything comes out flat. All you need is a power sander and a pencil.
Mark pencil lines all over the end grain surface of the board.
Starting with a low grit sand paper (60 or 80), start sanding away the pencil lines.
When the pencil lines are gone in one section, move on to the next section. Don’t go back over any areas where the pencil has disappeared.
Once all the pencil lines are gone, scribble on new ones.
Repeat the process, always keeping the sander moving and overlapping your passes by about 50%.
Once the pencil lines start to come off evenly across the entire surface, you can move on to a higher grit sandpaper and repeat the process.
I usually only go up to 150 grit for end grain cutting boards. I don’t notice much of a difference past that, but go as high as you like.
You could also use a drum sander if you have one. Make sure to use pencil lines as a guide for flatness.
If you don’t own a drum sander, some shops and millworks rent the use of their machines for fairly cheap. It’s worth looking into if you’re batching out end grain cutting boards.
CAN YOU RUN AN END GRAIN CUTTING BOARD THROUGH A PLANER?
The short answer is a resounding no.
As tempting as it is, end grain cutting boards can get absolutely decimated by power planers.
Since the wood fibers are running vertically, the planer blades can easily rip out giant chunks, break the board into pieces, and even send wood shooting out the infeed side.
Do people still do it? Of course, and some of them get away with it.
But I don’t recommend giving it a try.
STEP 9: TRIM THE EDGES
Once the board’s flat on both sides, trim the edges so they’re clean.
I do this on a crosscut sled — and use a 60 tooth crosscut blade to minimize tearout ( burn marks on the long grain edges will sand out more easily). You want the cuts as clean as possible, so whatever blade you use, make sure it's sharp.
You can also use your rip fence, but only do it with the longest edges against the fence.
To make sure everything stays square, use the first side you trim as the reference against your crosscut sled fence to trim the two adjacent sides.
Trim the fourth side clean, then sand them all smooth.
STEP 10: FINISHING TOUCHES
You could call it done at this point — but I like to cut grooves into two opposite sides for handles.
I use a ball nose bit from BitsBits (get it for 15% off with code JKATZMOSES15).
Set up an edge guide on your router, and double stick tape some blocks of wood to the ends to act as stops.
To cut a juice groove in the top of the board, use an edge guide and make sure to clearly mark your starting and stopping points.
CLEAN GROOVE TIP:
To avoid burn marks in your handles or juice grooves, cut them in two passes.
For the first pass, cut just a hair shy of your final depth.
Then make a second pass at the full depth that only takes off a little material and leaves a clean, burn-free cut.
For smaller cutting boards, you can also add rubber feet to keep it from sliding on countertops.
Use a router or hand plane to break the sharp edges and add a small roundover or chamfer.
The last step is adding a food safe finish.
You can make your own cutting board finish out of mineral oil and beeswax (here’s the recipe).
Slather on a healthy amount all over the board. Let it dry for a few minutes, then buff it out with a clean cloth.
HOW TO MAINTAIN AN END GRAIN CUTTING BOARD
You’ll need to periodically re-apply finish so your cutting board doesn’t dry out and crack.
People often say to refinish it whenever it looks dry — but I do a more staggered approach.
Add more finish the next day to a new end grain cutting board. Then the next week, then the next month, and from there every 4-6 months.
If you’re gifting or selling end grain cutting boards, give the recipient a jar of cutting board conditioner they can use to refinish it themselves.
It’s a great opportunity to throw your logo on the jar and keep your woodworking business top of mind for customers.
EXPERIMENT WITH OTHER DESIGNS
Simple maple cutting boards look gorgeous — but end grain cutting boards provide endless possibilities to play with geometric designs.
I made a 3D end grain cutting board out of three different wood species that turned out beautifully.
Watch the montage video here — and I also have an online class available where I walk you step-by-step through how to build it.
THE END-ALL (GRAIN) CUTTING BOARD
The coolest part about making your own end grain cutting board?
You get to use something you built with your own hands every day (assuming you don’t have an Uber Eats addiction).
Follow the steps above and you’ll have no problem making cutting boards for yourself, as epic gifts, or even as a way to fund your woodworking hobby.
What features do you plan to add to your cutting board? Let us know in the comments below!
Follow us on Instagram @katzmosestools, on TikTok @katzmoseswoodworking, and check out my YouTube channel for more great woodworking content...
And as always, STAY SAFE IN THE SHOP!
2 comments
Karl Buss
Thanks for the great tutorial. Why do all the videos tutorials of end grain cutting boards make these very thick (1.5+ inch) very heavy boards? Is there a reason you never see anyone make a 1/2 inch thick end grain cutting board?
Thanks for the great tutorial. Why do all the videos tutorials of end grain cutting boards make these very thick (1.5+ inch) very heavy boards? Is there a reason you never see anyone make a 1/2 inch thick end grain cutting board?
James Stoffel
Great instructions with the right amount of photos (and links) to keep the reader engaged! Thank you.
Great instructions with the right amount of photos (and links) to keep the reader engaged! Thank you.