


One of the most efficient (and often overlooked) types of joinery for furniture making is the round mortise and tenon.
This classic joint can be built using simple tools — and it’s strong, beautiful, and quick to make.
It’s most often used to connect legs directly to chair seats and table tops, or for securing chair spindles. And it’s right at home in rustic and refined furniture alike.
Sam Maloof’s signature “Maloof Joint” was a version of it. And Christopher Shwarz from Lost Art Press demonstrates its highest form in his stick chairs.
Today, I’m going to explain how to make round mortise and tenon joints with mostly hand tools — and without any jigs.
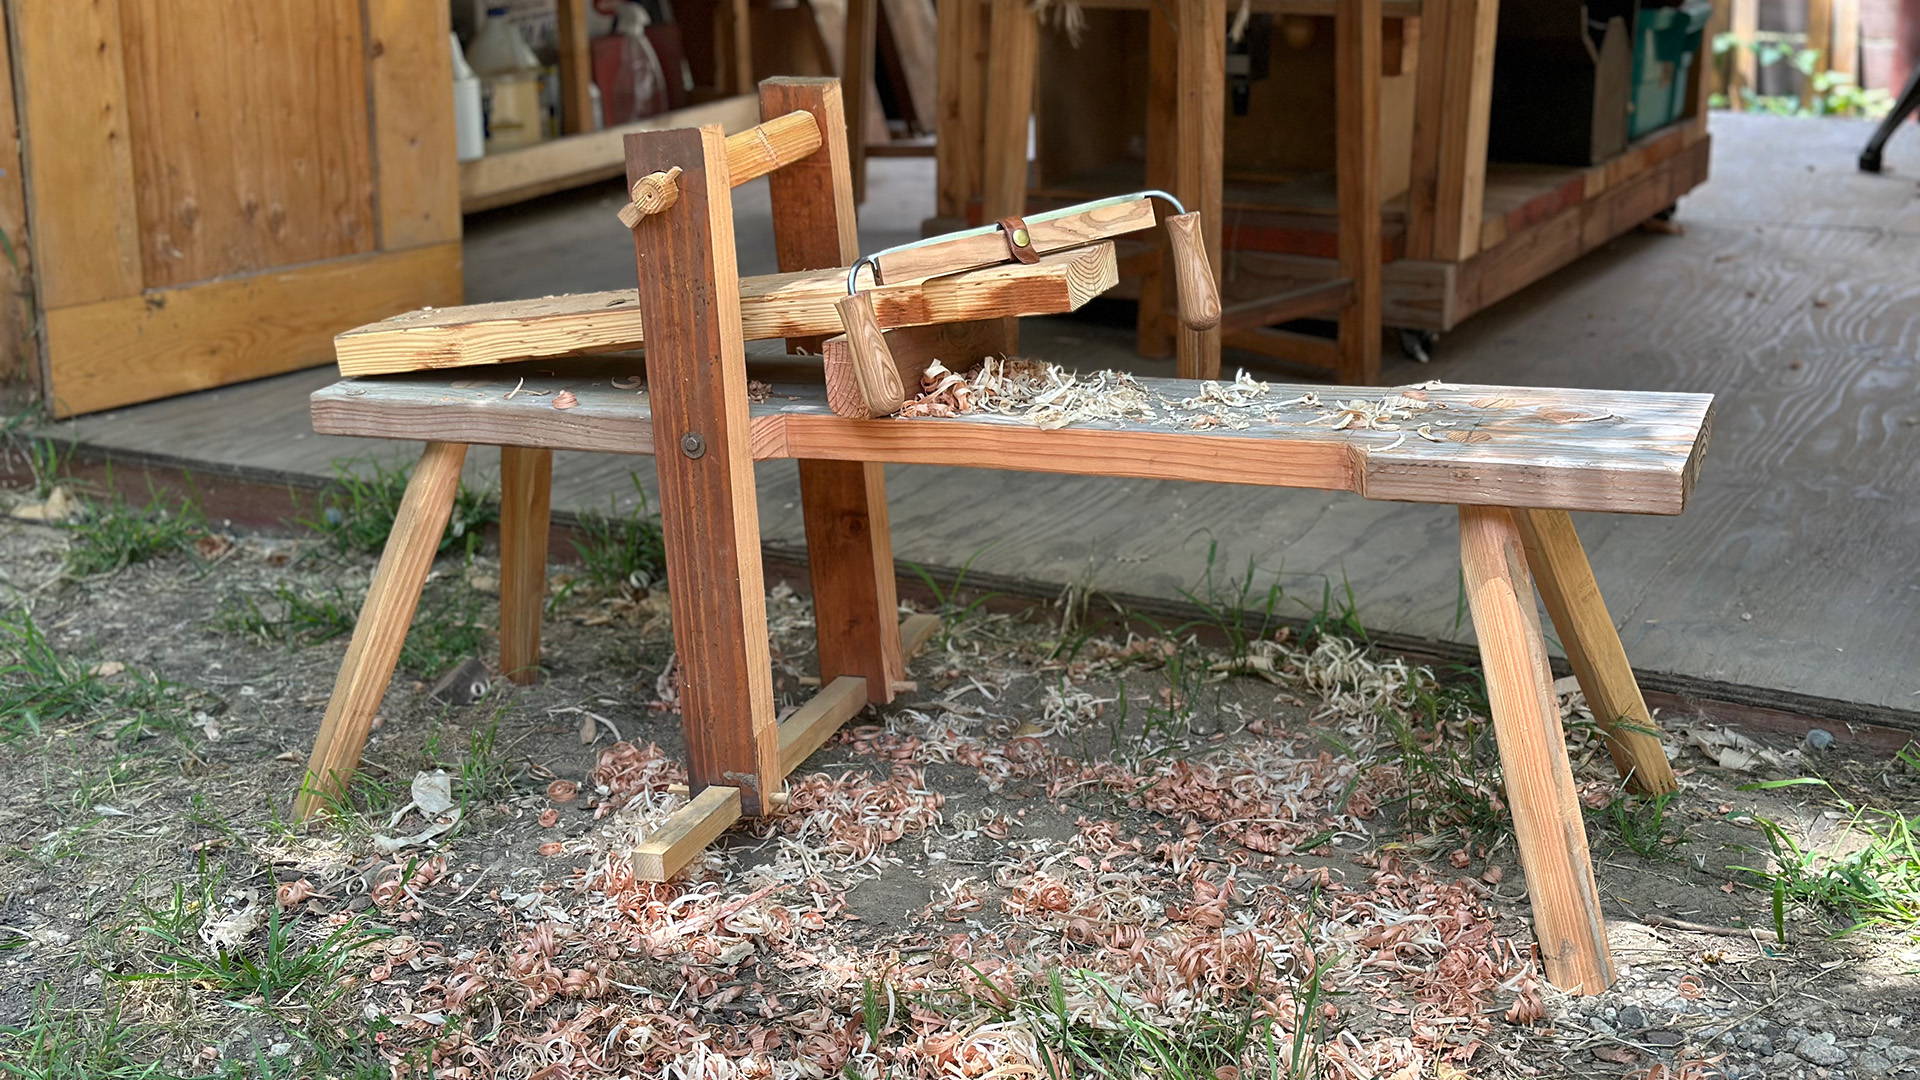
We’re going to use a simple 3-legged stool as an example.
If you’ve got limited tools — or limited time — you’ll love how this joinery style lets you whip out stools, tables, and chairs faster than you thought possible.
TOOLS FOR ROUND MORTISE AND TENON JOINERY
While there are specialized tools for making this joint, I’m going to explain how to build it with more readily available tools.
-
HAND DRILL AND FORSTNER BIT: This joint starts with a hole — and forstner bits are my favorite tool for the job. Use the biggest bit you have that’s diameter is less than the width of your leg stock (for example, for 1 ¼” x 1 ¼” legs, use a 1” forstner bit).
This bit will be your reference throughout the build.
You can alternatively use a hole saw, or a brace and auger bit if you’re feeling extra traditional.
-
BEVEL GAUGE: You’ll use a bevel gauge as a reference for drilling the mortises. If you don’t have one, you can also just cut one side of a scrap board to the rake angle you’re after (more on this later).
-
CHISEL: Round tenons can be cut primarily with a chisel. I like to use a wider chisel (1” is ideal) — and make sure it’s sharp as can be.
-
DRAWKNIFE AND SPOKESHAVE (OPTIONAL): These aren’t mandatory, but will really increase your efficiency in shaping the tenons — especially a drawknife.
-
BURNISHING SCRAP: What’s a burnishing scrap? Just a piece of wood with a hole drilled in it that’s used to help you find where your tenons need to be trimmed.
Use a piece of scrap from a wood species harder than the wood you’re using for your project. For example, if you’re making a stool out of pine or poplar, make the burnishing scrap from a hardwood like maple or walnut.
MILL THE SEAT AND LEG STOCK
The thicker the seat and leg stock you use, the stronger your stool will be.
I recommend you go at least 1” thick for both — but you can sometimes get away with less.
It’s easiest to start with the seat in rectangular form for layout. You can always shape it how you like later.
Mill the leg stock square. For example 1 ½” x 1 ½”. It doesn’t need to be perfect (unless perfection is what you’re after).
LAY OUT THE MORTISES
First, lay out where you want the legs to be.
For a four-legged stool, use a pencil to draw two lines that connect opposite corners, making an “X”.
Measure a set distance from each corner (about halfway between the corner and center of the X), and mark that point with an awl or center punch.
For a three-legged stool, do the same — but add a 90° line from the stool's back edge that intersects the center of the X.
These pencil lines work as your “sight lines” when drilling the mortises. This adds splay to the legs, which is how they angle away from the seat when you look at it from the front.
On most chairs and stools using round tenon joinery, the legs also have rake, which is how they angle away from the seat when you look at it from the side.
In essence, you’ll drill the hole at a compound angle. But don’t worry — I’m going to explain how to eyeball it pretty accurately.
Rake is usually between 7-14° off 90°, so set your bevel gauge between 83° and 76°. Once you lock it down to a set angle, don’t adjust it.
It’s easy to get caught up in rake, splay, and resultant angles. I find the simple method above does the job just fine — but check out Lost Art Press for a deep dive.
DRILL THE MORTISES
Grab your drill, forstner bit, and bevel gauge — and get ready to cut some holes.
Start drilling the holes through the top of the seat. That way if you get any blowout when the forstner bit exits, it’ll be hidden on the bottom.
Place the spur of the forstner bit in one of the center punch holes you made. Be careful as you start the cut, since the angle can make the bit jump out of position.
Line up the drill with the pencil sight line, then place the bevel gauge nearby. Match the angle of the drill bit to the bevel gauge the best you can.
(Make sure the hole will lead to the leg angled AWAY from the seat — not towards the middle!)
Keeping the bit aligned with your sight line and bevel gauge, drill the hole. Take your time and check periodically to make sure the cut stays aligned.
Cut the hole all the way through the seat (a scrap board underneath helps prevent blowout when you finally break through the bottom).
Repeat the process for the other points where you’ll have legs, and you’re done with the mortises.
LAY OUT THE TENONS
With the mortises cut, it’s time to lay out your round tenons.
First, determine how long your tenons need to be and mark the shoulder location with a pencil all the way around.
Make them a little long so they’ll sit proud of the seat top. You’ll flush trim them later. Remember that since the mortise is angled, its length is more than the thickness of the seat.
Use a pencil to draw an “X” on the top of what will be the tenons, connecting opposite corners. Mark the center of this X with a center punch.
Now you’ll use the same forstner bit you used to drill the mortises to establish the edges of the round tenons.
Place the spur of the forstner bit in the hole you marked and lightly rotate it. You’re not trying to actually drill a hole — just scratch a clear circle on the end of the leg stock.
This circle will guide you in shaping the tenons… and perfectly matches the mortises you already drilled.
SHAPE THE TENONS
I’m going to explain two ways to cut round tenons: one using just a chisel, and the other using a drawknife and spokeshave.
These methods aren’t mutually exclusive, so feel free to use them together. In fact, a good strategy is to take off the bulk of waste with a drawknife, fine-tune with a chisel, and slope the shoulder with a spokeshave.
CUTTING ROUND TENONS WITH A CHISEL
You might not think a chisel would be the ideal tool for shaping round tenons — but they actually work really well.
First, use a hand saw to make shallow cuts all the way around the shoulders of the tenon. This helps prevent the wood from splitting past the shoulder lines as you chop.
Place the leg upright in a vise with the top of the tenon facing up. Then starting at the corners, use the chisel and a mallet to chop straight down.
Take off a little at a time, working evenly around the scribed circle. Make sure nothing splits past the shoulder lines as you do.
If you used a forstner bit, trim to the outside line — not the inside one. Otherwise, your tenon will come out loose.
Keep working around the tenon, gradually taking it down to the circle scribed on the top. It’s ok if it comes out tapered at first. You’ll refine it later.
Now grab the burnishing scrap and try to fit it over the top of the round tenon. If it doesn’t yet fit, trim a little more from the top.
When the burnishing scrap starts to fit, rotate it while pushing it down on the tenon until you get a lot of resistance. Then remove the burnishing scrap.
You should see a new shoulder on the tenon where the burnishing scrap couldn’t go any further.
Resting the back of the chisel on the portion of the tenon that did fit in the burnishing scarp, make light slices to take away this shoulder.
Repeat this process of testing with the burnishing scrap and trimming with the chisel until you can twist the burnishing scrap all the way down to your shoulder lines.
Once it fits, use the chisel to round over the shoulders so there’s a smoother transition from tenon to leg.
Go ahead and test fit the tenon in one of your mortises. If it’s still a little too tight, smooth it out with some sandpaper to ease the fit.
CUTTING ROUND TENONS WITH A DRAWKNIFE AND SPOKESHAVE
A drawknife really lets you speed up the process of cutting round tenons.
First focusing on the corners, use a drawknife to take off the bulk of waste around the scribed circle.
You can start your cuts a little past the shoulder lines to begin the sloped shoulders.
Once you’ve cut away the bulk of the material, use a spokeshave to refine the tenon and get right down to the scribed circle.
Alternate between checking the tenon with the burnishing scrap and refining with the spokeshave.
Work backwards from the top of the tenon. Once the end of the tenon starts to fit, avoid cutting that area any more with the spokeshave.
Once the burnishing scrap fits all the way down to the shoulders, you can test fit the tenon in your seat mortises.
Smooth out the shoulder with the spokeshave, and repeat for the other legs!
TOOL TIP
If you get really into round mortise and tenon joinery, there are specialty tools that help speed up the tenon cutting process.
These tenon and plug cutters from CMT work great (we have them up to ¾”), and you can find similar tools with a quick online search.
MAKE WEDGES AND CUT THE TENONS
Now you’ll make the wedges that’ll provide a ton of strength to your joints.
This is a great opportunity to add a decorative element to your project. Use a contrasting wood species for your wedges to really make the joinery pop.
Start by cutting a piece of scrap to match the width of your tenons. Make it a ½” or so longer than the tenon’s length.
Mark a point around ¼” from the edge of the piece, then draw a line down to the adjacent corner.
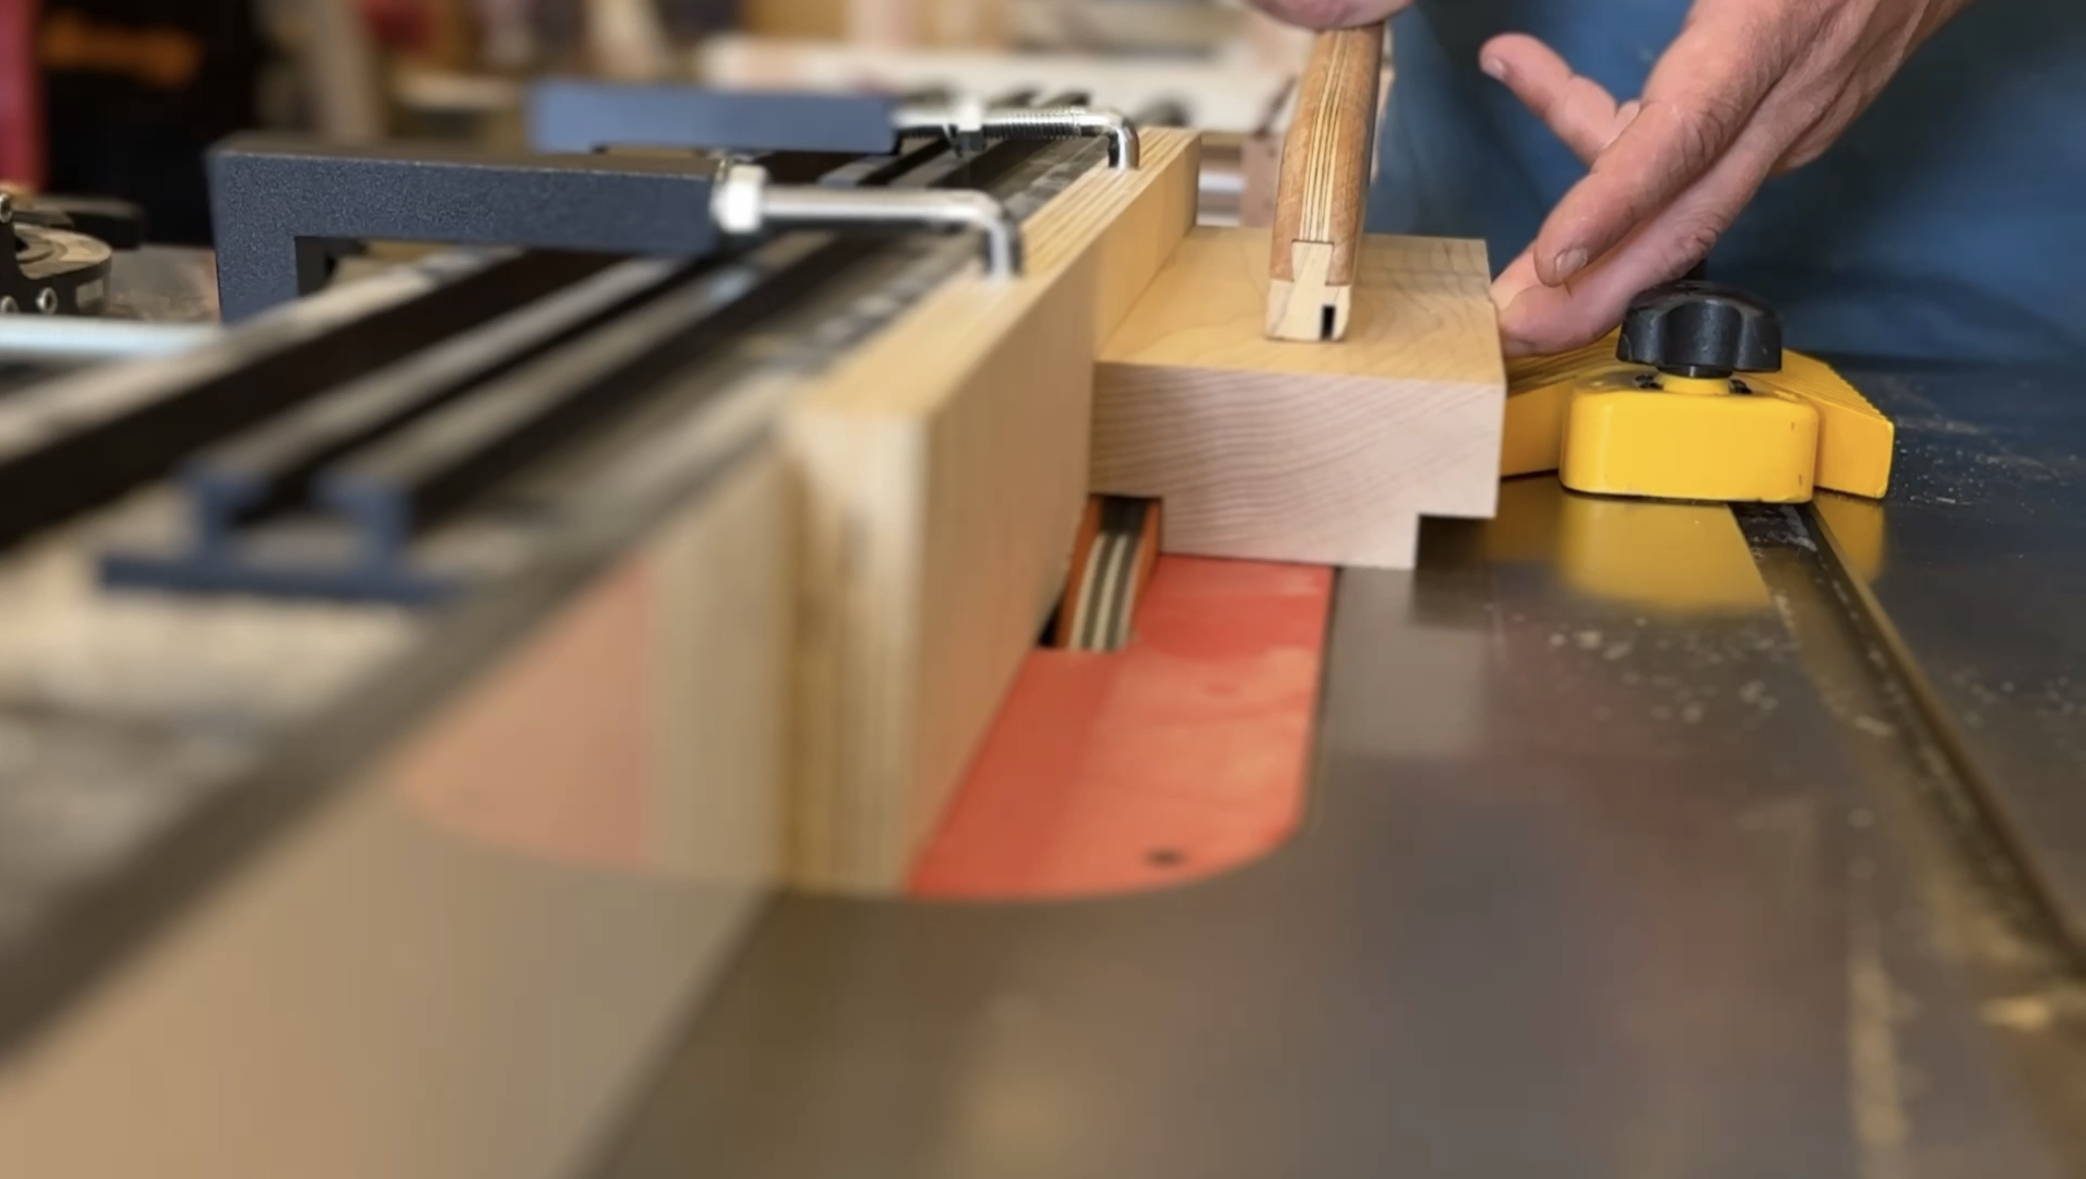
Use a bandsaw or hand saw to cut along this line. Lightly sand the wedge on both faces to smooth it out as possible. Make a wedge for each leg.
Now you’ll make a 90° cut down the center of your tenons (scary, I know). A band saw or hand saw work great.
Stop this cut ¼” or so shy of the tenon shoulders.
As an extra precaution, you can drill a small hole at the bottom of this cut. It helps ensure the wedge pressure doesn’t split the leg apart, but I don’t find it totally necessary.
SHAPE PIECES AND DRY FIT
Now's the time to shape and sand your seat and legs.
Do a dry fit to figure out the best leg orientation (but make sure your final set up has the kerfs in the tenon perpendicular to the seat's grain — more on that later).
To make it easier when the pressure's on during glue up, write a number on the top of each tenon and a corresponding number inside the mortise. That way you'll remember what leg goes where and which side's the front.
ASSEMBLE THE JOINT
All your parts are cut — now you’re ready to put together your round mortise and tenons.
Spread a bit of glue around the tenons and slide them into the mortise.
TIP
Putting Marvin Gaye or Al Green on in the background helps mortises and tenons come together more easily.
Orientation here is VERY important. The kerf you cut into the tenon needs to be PERPENDICULAR to the seat’s grain.
If the kerf in the tenon is parallel to the seat’s grain, there’s a chance it can split your seat apart when you hammer in the wedge.
Put a bit of glue on both sides of the wedge, insert it into the kerf cut in the tenon, and hammer it home.
Be delicate at first so you don’t accidentally snap the wedge. But once it’s fully seated in the tenon, give it some solid and controlled whacks.
Knock the wedge in until you hear the sound change or it won’t go any further.
Repeat the process for your other legs, and crack open a cold one while the glue dries.
FLUSH TRIM AND CLEAN UP THE TENONS
Once the glue has dried, you’re ready to put the finishing touches on this joint.
Use a flush trim saw to cut off the proud portions of the tenons and wedges.
Once that’s done, use a chisel or a hand plane to fully flush them out to match the seat top.
All that’s left to do is a bit of sanding, add your preferred finish, and admire your work.
PRACTICAL AND EFFICIENT JOINERY
Round mortise and tenon joinery is a quick and fantastic way to make all sorts of furniture — and with simple, readily available tools.
My favorite thing about them is how well they work for both rustic and refined furniture.
Need to bang together a quick and dirty stool, or build an elegant Windsor chair? Round mortise and tenon joints are perfect for either one — and you can knock them out in no time.
I really recommend using a drawknife to add efficiency to the process. But if you’re new to them, here’s a few tips for mastering your drawknife.
What furniture have you built using round mortise and tenon joinery? Let us know in the comments below!
Follow us on Instagram @katzmosestools, on TikTok @katzmoseswoodworking, and check out my YouTube channel for more great woodworking content...
And as always, STAY SAFE IN THE SHOP!

6 comments
Jarrel
Man, I’ve been searching the internet/youtube for days now trying to find how to make an angled mortise and tenon, then this pops up in my email! My nephew and I are building a wood xylophone, my most ambitious project to date. This way will add a bit of interest to the build. You have come through for me yet again my man!
Man, I’ve been searching the internet/youtube for days now trying to find how to make an angled mortise and tenon, then this pops up in my email! My nephew and I are building a wood xylophone, my most ambitious project to date. This way will add a bit of interest to the build. You have come through for me yet again my man!
JIM CURRIE
Enjoyed this one, however you have not finished the project yet. The leg ends need to be cut to the same angle and parallel to the seat. A little more intimidating this part.
Enjoyed this one, however you have not finished the project yet. The leg ends need to be cut to the same angle and parallel to the seat. A little more intimidating this part.
Dave in Southwest PA
I just putzy around with woodworking and so happy that I’ve found you on YouTube. I’m finally about done putting together my wood shop and want to make some more difficult projects than the basic bird houses and such. Your ‘step by step’ approach is exactly what I’m looking for. I have a little saw mill here so making my own lumber for whatever I’m constructing. I’ll continue to follow you for more ideas, Jonathan. Thank you!
I just putzy around with woodworking and so happy that I’ve found you on YouTube. I’m finally about done putting together my wood shop and want to make some more difficult projects than the basic bird houses and such. Your ‘step by step’ approach is exactly what I’m looking for. I have a little saw mill here so making my own lumber for whatever I’m constructing. I’ll continue to follow you for more ideas, Jonathan. Thank you!
Joe Maddox
Your tutorials are great. Thanks so much for doing these.
Your tutorials are great. Thanks so much for doing these.
Roger Russell
I learn so much from your tutorials. The issue is remembering them!!! Thank you so much. All seem not too complicated, are useful with many basic projects and really enhance the outcome.
I learn so much from your tutorials. The issue is remembering them!!! Thank you so much. All seem not too complicated, are useful with many basic projects and really enhance the outcome.
Rod
Excellent quick tutorial, Jonathan. Thanks—I’m a fan!
Excellent quick tutorial, Jonathan. Thanks—I’m a fan!